#illo_advent 2017

This is the third year I've taken part in #illo_advent over on Twitter. It's what started me drawing when I was having a really tough time in my personal life. I took up the challenge of drawing a Christmas themed illustration from 1st - 24th December and it helped to distract me. I shared my drawings and become part of a lovely community of creative people. It was therapy, company and just good fun.

This year the illustrations that are being shared by everyone are absolutely beautiful. If you've got five minutes to while away I highly recommend a browse. Here are my 24 pictures for 2016.

Learning To Make An Animated Gif

This week, with a little help from my lovely neighbour who is a graphic designer, I've been teaching myself how to make an animated gif with Photoshop. As a (very!) small business, I have little or no budget for marketing so find myself trying to do lots of things myself. This actually means I am always learning and teaching myself new skills.

I wanted to make a brief animation to help to promote my picture book Angel's Great Escape on social media and didn't really know where to start. Luckily, you can learn almost anything these days by finding tutorials to watch online (and with the help of kindly neighbours!).

I am fairly comfortable with Photoshop but I only know the basics and hadn't really played with multiple frame animated gifs much before. Here's a link to one of the many tutorials but have a look around and find one you feel comfortable with. I created something quite basic but here are a few notes about what I've learnt.

1. An animated gif is created by turning the layers of the Photoshop file into frames and cycling through them. The animation below has 145 frames so 145 layers. It's basically a stop animation that puts me in mind of the old school animation techniques of my childhood favourites like Bagpuss and the Clangers. I used one layered PSD file to create each scene or layer and merged the visible layers then copied it and dropped it into the file that was going to be animated. I then went back to the layered PSD, undid the merge and repositioned the scene then did the same process again. And again! In each scene I moved Angel and Father Christmas a little further across. I nudged each one a maximum of 5 or 6 cursor taps each time to ensure that the finished product was fairly smooth. But at the same time, I nudged each up or down a tiny bit to give the movement a bit of a wobble as I wanted the animation to look quite rustic. I imagine there are several ways to achieve the same result but this process helped me to keep track of what I was doing and to be methodical.

2. I created the file at 1500 px x 1500 px in case I need to use it for anything else but then reduced it down to 400 px x 400 px when I saved it to help to reduce the file size. These dimensions seem to work well on mobile phone apps.

3. I was able to upload the animated gif directly to Twitter but had to save it as a video to upload it to Instagram. And for Facebook I needed to upload it to my website and then link to it from there.  Once again there are lots of tutorials online that I used to help! Here's one that neatly summarises each process. 

So much of the learning process to create the gif below has been trial and error. I enjoyed experimenting with the settings, composition and movement and making something that actually looks Father Christmas is flying by! I hope you have fun creating your own animated gifs too. 

Angel's Great Escape Available On Amazon!

Today, I am very excited to announce that my first self-published picture book Angel's Great Escape, illustrated by Kristyna Litten, is finally available in print! For those who have followed my progress you will know that this has been quite a journey that has taken more than four years to complete. And quite a bit longer than that when I realise I first had the idea over ten years ago!

I will write a detailed blog post soon about my self-publishing journey but for now I wanted to celebrate the fact that a long-held dream is now a reality and I'm so excited to finally be sharing my little Christmas story in print! I really hope that you and the little ones in your life enjoy it this festive season!

Click here to buy your copy today!

And don't forget you can also download a fully narrated version of the book on your tablet from iBooks or Me Books. Narration is by West End superstar David McMullan and the Me Books version even has additional character voices which you can hear a sneak preview of in the video below!

Kristyna Litten Working With Aardman Animations

Four years ago I started work on a project that became my passion, turning a little story I had written into something that I could share with others. Angel's Great Escape was the reason I started my little company and the start of a journey that is still winding. At the time, I hadn't really started drawing and I really wanted to work with someone who was experienced. Luckily the lovely team at Arena Illustration introduced me to Kristyna Litten who visualised the characters exactly as I saw them. Together with book designer Sarah Goodwin and app creator Stefan Nowak we created a product that could be shared around the world. (And I'm excited to say the book will soon finally be available in print but more on that later!)

I loved working with Kristyna and was so chuffed to read in the Arena newsletter this week that she was commissioned to work with Aardman Animations on the new DFS adverts. Kristyna created illustrations of DFS employees and these were then adapted by Aardman to produce animated adverts. You can read a lot more about the project and see Kristyna's drawings here. And here's the first advert. It's so cute and has all the hallmarks of Aardman's warm and cosy style. Lovely. Congratulations Kristyna!

Adding Products To Etsy

My new cards arrived yesterday so it was time for another mini photoshoot! I'm becoming quite speedy at taking pictures now as I have more of an idea of how I'd like them to look. Adding products feels like it is really time-consuming when you first start doing it but definitely gets easier. Now I can copy previous product descriptions rather than writing them fully from scratch and I'm also able to use presets for postage costs.

My latest set of cards is all about the feel-good factor so I set up my cards with flowers and my favourite fondant fancies as props (I managed to only eat two). The light was quite gloomy so I used a white background again and then upped the exposure in Photoshop to make it seem as if it was a summer's day! I quite enjoy the methodical process of tweaking the photos and uploading them. The process also gives me a full set of images to use on social media and to promote the products.

The next challenge is to really start focusing on getting my shop *seen* by new buyers. So far my hygge print seems to be what's drawing people in and I hope some of these new cards will also start to catch people's eyes.

Mini Mirrors

As well as cards, notebooks and prints, I'd like to sell some little stocking fillers on my stall at the craft fairs I am attending and in my Etsy shop. Today I have sent these little lovelies off to print. Each of these four designs will be printed on a little pocket mirror (just 6cm wide). I'd love to find one of these in my stocking and hope you'll enjoy giving them to your friends as a mini treat. Perfect for handbags and purses.

Cards For Kindness & Keeping Going

With various craft fairs coming up I wanted to add to my collection of cards a little and I've been particularly thinking about offering cards that people can send 'just because'. My latest mini collection is all about kindness and keeping going and will be on sale in my Etsy shop by next week.

New Notebooks

I'll be adding some stocking fillers to my shop very soon including these six new notebook designs. My hygge design is proving popular so I thought it would be fun to have a product with it on and the other designs are all brand new. Each notebook will have a spotty or starry inside cover to give a little extra splash of colour and 48 plain pages for notes, sketches and ideas. I really hope that you like them and will enjoy jotting your own creative ideas down in them!

I'm using Awesome Merchandise to print these. Print feels like it can be quite complicated (!!) and they have been super helpful handling my queries. They also have lots of very helpful templates so that you can ensure that you have the right dimensions and the correct amount of space at the edges of designs to ensure that they get trimmed correctly. I can't wait for the notebooks to be delivered so I can share some pictures with you!

Sophistication At All Times

As I've mentioned, I'm busy creating lots of little stocking fillers for the upcoming craft fairs that I'll be attending. This morning, my to do list got interrupted by a sudden need to draw this little character accompanied by a phrase that I say to the little ones in my life all the time (with a cheeky smile of course). I think she'll be finding her way onto some stocking fillers very soon!

Renegade Craft Fair

I enjoyed a really nice browse around the Renegade Craft Fair in London yesterday. As I'm busy planning my first few craft fairs I wanted to do a bit of research about how to set up a stall and also to meet some of the makers and to buy a few treats!

I picked up some really useful tips about how to display greetings cards, how to add a bit of sparkle to your display and ensuring there is a bit of height to things so that you can easily catch the eye of prospective buyers as they walk by. There were some absolutely lovely stalls that looked really professional and inviting. I chatted to several creatives about their products and about how nerve-wracking it is doing fairs for the first time. Every one advised me that all their fellow makers are lovely and that half the fun is chatting to people who are in the same situation as you. It feels like a really lovely community to be a part of.

Here's a little glimpse at a couple of the treats I bought! Links to the makers websites below.

1. Annie Dornan-Smith - www.anniedornansmith.co.uk 
2. Plewsy - www.plewsy.com 
3. Oh Squirrel - www.ohsquirrel.co.uk 

Pinch Punch Post

I love taking part in various drawing challenges on Twitter and occasionally post a contribution to the #pinchpunchpost hashtag. Each month they name an animal to draw and everyone posts on the 1st of the month. This month the theme was an owl and although I was a little late I couldn't resist taking part. I was feeling particularly inspired by the fact that the little ones are so obsessed with Harry Potter at the moment. So this little owl has a very important delivery to make... And he's feeling a little daunted!

I sketched my owl on a bumpy train journey and sat down to draw him in Photoshop last night. I wanted to try out some Kyle T Webster brushes that I haven't used very much yet to see what I could do with them. I created the animated gif below so that you can see the layers that went into the finished piece. I'm so excited about the possibilities with the brushes. It's like a whole world of texture has opened up to me!

For those who use (or want to use) Kyle's brushes, I used the following to create my little owl.
* Gouache A-Go-Go
* Gouache Less Dry
* My New Favourite Inker

A Christmas Photoshoot

My Christmas cards arrived super speedily from Printed.com so this morning I was able to photograph them to pop them onto my Etsy shop. The light was just right with a lovely autumnal blue sky and I had already bought some *props* (aka snacks) in preparation.

Once again I used white card as a base so that the photos had a clean, light background and I sprinkled some silver stars around to add a little bit of sparkle. I took several snaps of each card to ensure I had plenty of pictures to choose from and then tweaked them a little in Photoshop before adding my new listings to Etsy while enjoying a very yummy mince pie.

I'll soon be adding more Christmas cards and some little stocking fillers to my shop but in the meantime please enjoy a little browse around (preferably while eating a mince pie).

Let The Festivities Begin!

This week my desk has been all about Christmas! I popped my fairy lights on and put Arthur Christmas on Netflix to get me in the mood and got started on the first of my Christmas cards. The four designs below will be in my Etsy shop and on Choosey.com late next week. There are two more designs to come, plus a little collection of Christmas stocking fillers that I am working on. I also used it as a good excuse to have my first mince pie of the season. Let the festivities begin!

Happy Fourth Birthday And So We Begin!

I started my little business four years ago today on what would have been my nana's 100th birthday so I'm celebrating this morning with cake for breakfast! I like the fact that my nana is part of my company's story as she inspired me with kindness and creativity. She used to potter endlessly in her garden and would talk to us about the plants. If she wasn't gardening, she was baking delicious shortbread and cakes or knitting us cardigans and leg warmers or letting us play our new 7" singles on her old Dansette record player. I remember making pom poms with her and thinking it was some kind of magic that you could make this fluffy ball out of a piece of wool. And I remember sitting in the kitchen while she listened to the Archers and being told firmly to 'shush'!

Today, I find my company somewhere I didn't know it would be. My love for illustration has grown and grown over the last two years and while I still work in event management by day and write whenever the feeling grabs me, every spare moment I have is consumed by drawing. I am never without my sketchbook and have an ever growing collection of sketches for pretty little products that I am working on bringing to my shop.

I sometimes stop for a moment and wonder how I got here. It's like illustration has come out of the blue and said, "Pick me!" I find it meditative in such a good way. For me it's an antidote to the speeding world and has given me somewhere totally joyful to 'go' when I need to retreat.

As I wrote a few blog posts ago, I thought a lot about what I want my brand to be. I settled on warm, kind and cosy. I want my products and The Quiet Life blog to give people the same feeling I get when I'm drawing. One of complete contentment (often accompanied by cake). 

Sending Out My First Etsy Orders

It sounds daft but once your Etsy shop is alive and kicking, it somehow comes as a surprise when buyers actually start to order things from you. After spending so much time and care creating something behind closed doors, it feels like such a compliment that someone likes your products enough to buy them. It's lovely to earn a few pennies but it's so much more than that. Creating for me is about sharing a little bit of myself, it's making something tangible that expresses a part of myself and it's so nice when someone connects with that.

To manage expectations and to allow me to prioritise and schedule my time, I state on my Etsy shop that I send orders out on Fridays and Saturdays. So yesterday, I found myself wrapping up the first ones. Each with a candy stripe paper bag, And So We Begin sticker and a personalised message. I love thinking about someone receiving something lovely in their letterbox rather than a bill and then sending their cards out and sharing that love with someone else. It's so simple but makes me very happy indeed.

Etsy Photoshoot

As an independent you really do find yourself having to be a jack of all trades sometimes. Setting up an Etsy shop is really satisfying and also takes several skills. After creating your products the next step is to make sure they all look super tempting to your potential buyers by putting your photography skills to the test.

Here are my top four tips for good product photos for your Etsy shop.

1. Take photos in natural light.
I have a real aversion to flash photography as it makes things look slightly unreal and over-exposed. Position your products near a window and make sure there aren't any unsightly shadows. If it's a bit of a dull day, you can always brighten your images up in Photoshop or a photo app before uploading.

2. Ensure you have a white background.
A clean, clear background will help to show your products at their best. I faked my white surface by using white card as a base underneath my products. Limit clutter and ensure the product is the focus of the image.

3. Use props.
I think it's quite fun to take photos of products in an environment so that buyers can see them in context. I look for pictures like this when I buy products on Etsy as I feel it puts them in context and sells a 'feeling' as well as the design to the buyer. I wanted my greetings cards to look cosy, fun and warm so I added sparkly stars, cake, party poppers and candles to my pictures. You can see all of my finished pictures on my Etsy shop!

4. Show your packaging.
I love the small details that Etsy buyers add to their products. Many add a personal card, a sticker or pack their products in tissue paper or a pretty bag. I like to show my packaging in my photos as I hope it shows that I really care about every single order and every single buyer.

I hope that you find these points helpful. Have a browse around my shop and let me know what you think!

I'm also taking part in the #inktober challenge on Twitter by drawing black and white ink illustrations. My Etsy photoshoot gave me great inspiration today (and was also a great excuse to eat all of the leftover cake!)

Building A Website With Squarespace

Welcome to my new website! I've been spending the last couple of weeks having a virtual declutter and spruce and I really hope you like the new look.

I've really enjoyed using Squarespace for my site refresh. I've noticed their logo at the bottom of a few sites I've liked so I spent some time browsing through their templates and watching the Getting Started video. I wanted something that was really easy to use, clean cut and flexible and they really fit the bill.

I know that the idea of building a website can be quite intimidating and I have to confess I do have some experience of building websites from a previous job but I think that a complete beginner would find Squarespace easy to use. Their whole premise is built around using blocks. You can add pages, blog posts, forms, images and galleries really easily at the touch of a button and there's a style editor that means changing fonts and style elements across your site is super easy. I think the best way to overcome any fear about trying is to have a go. Squarespace offer a free trial so if you are hoping to start your own web presence, have a go!

Here are five things I enjoyed about using Squarespace.

1. It's cheap and cost effective at only $12 a month for a personal site when you pay annually.

2. You can use your own domain name by asking your host (or domain parking service) to help you to redirect it.

3. The look is really clean cut and you can incorporate images really easily. If it's helpful to know, I'm using the Native template.

4. You can integrate a shop into your site. I'm working on this at the moment but it appears to be really simple. I've had an Etsy shop up until now but am looking forward to having a shop within my own site.

5. It's super flexible and because of this, it's easy to keep updating things to keep your site fresh. This is a really great when you are a small (i.e. one person!) business and doing everything yourself.

A Parcel From The Printer

EtsyCardsBoxed.jpg

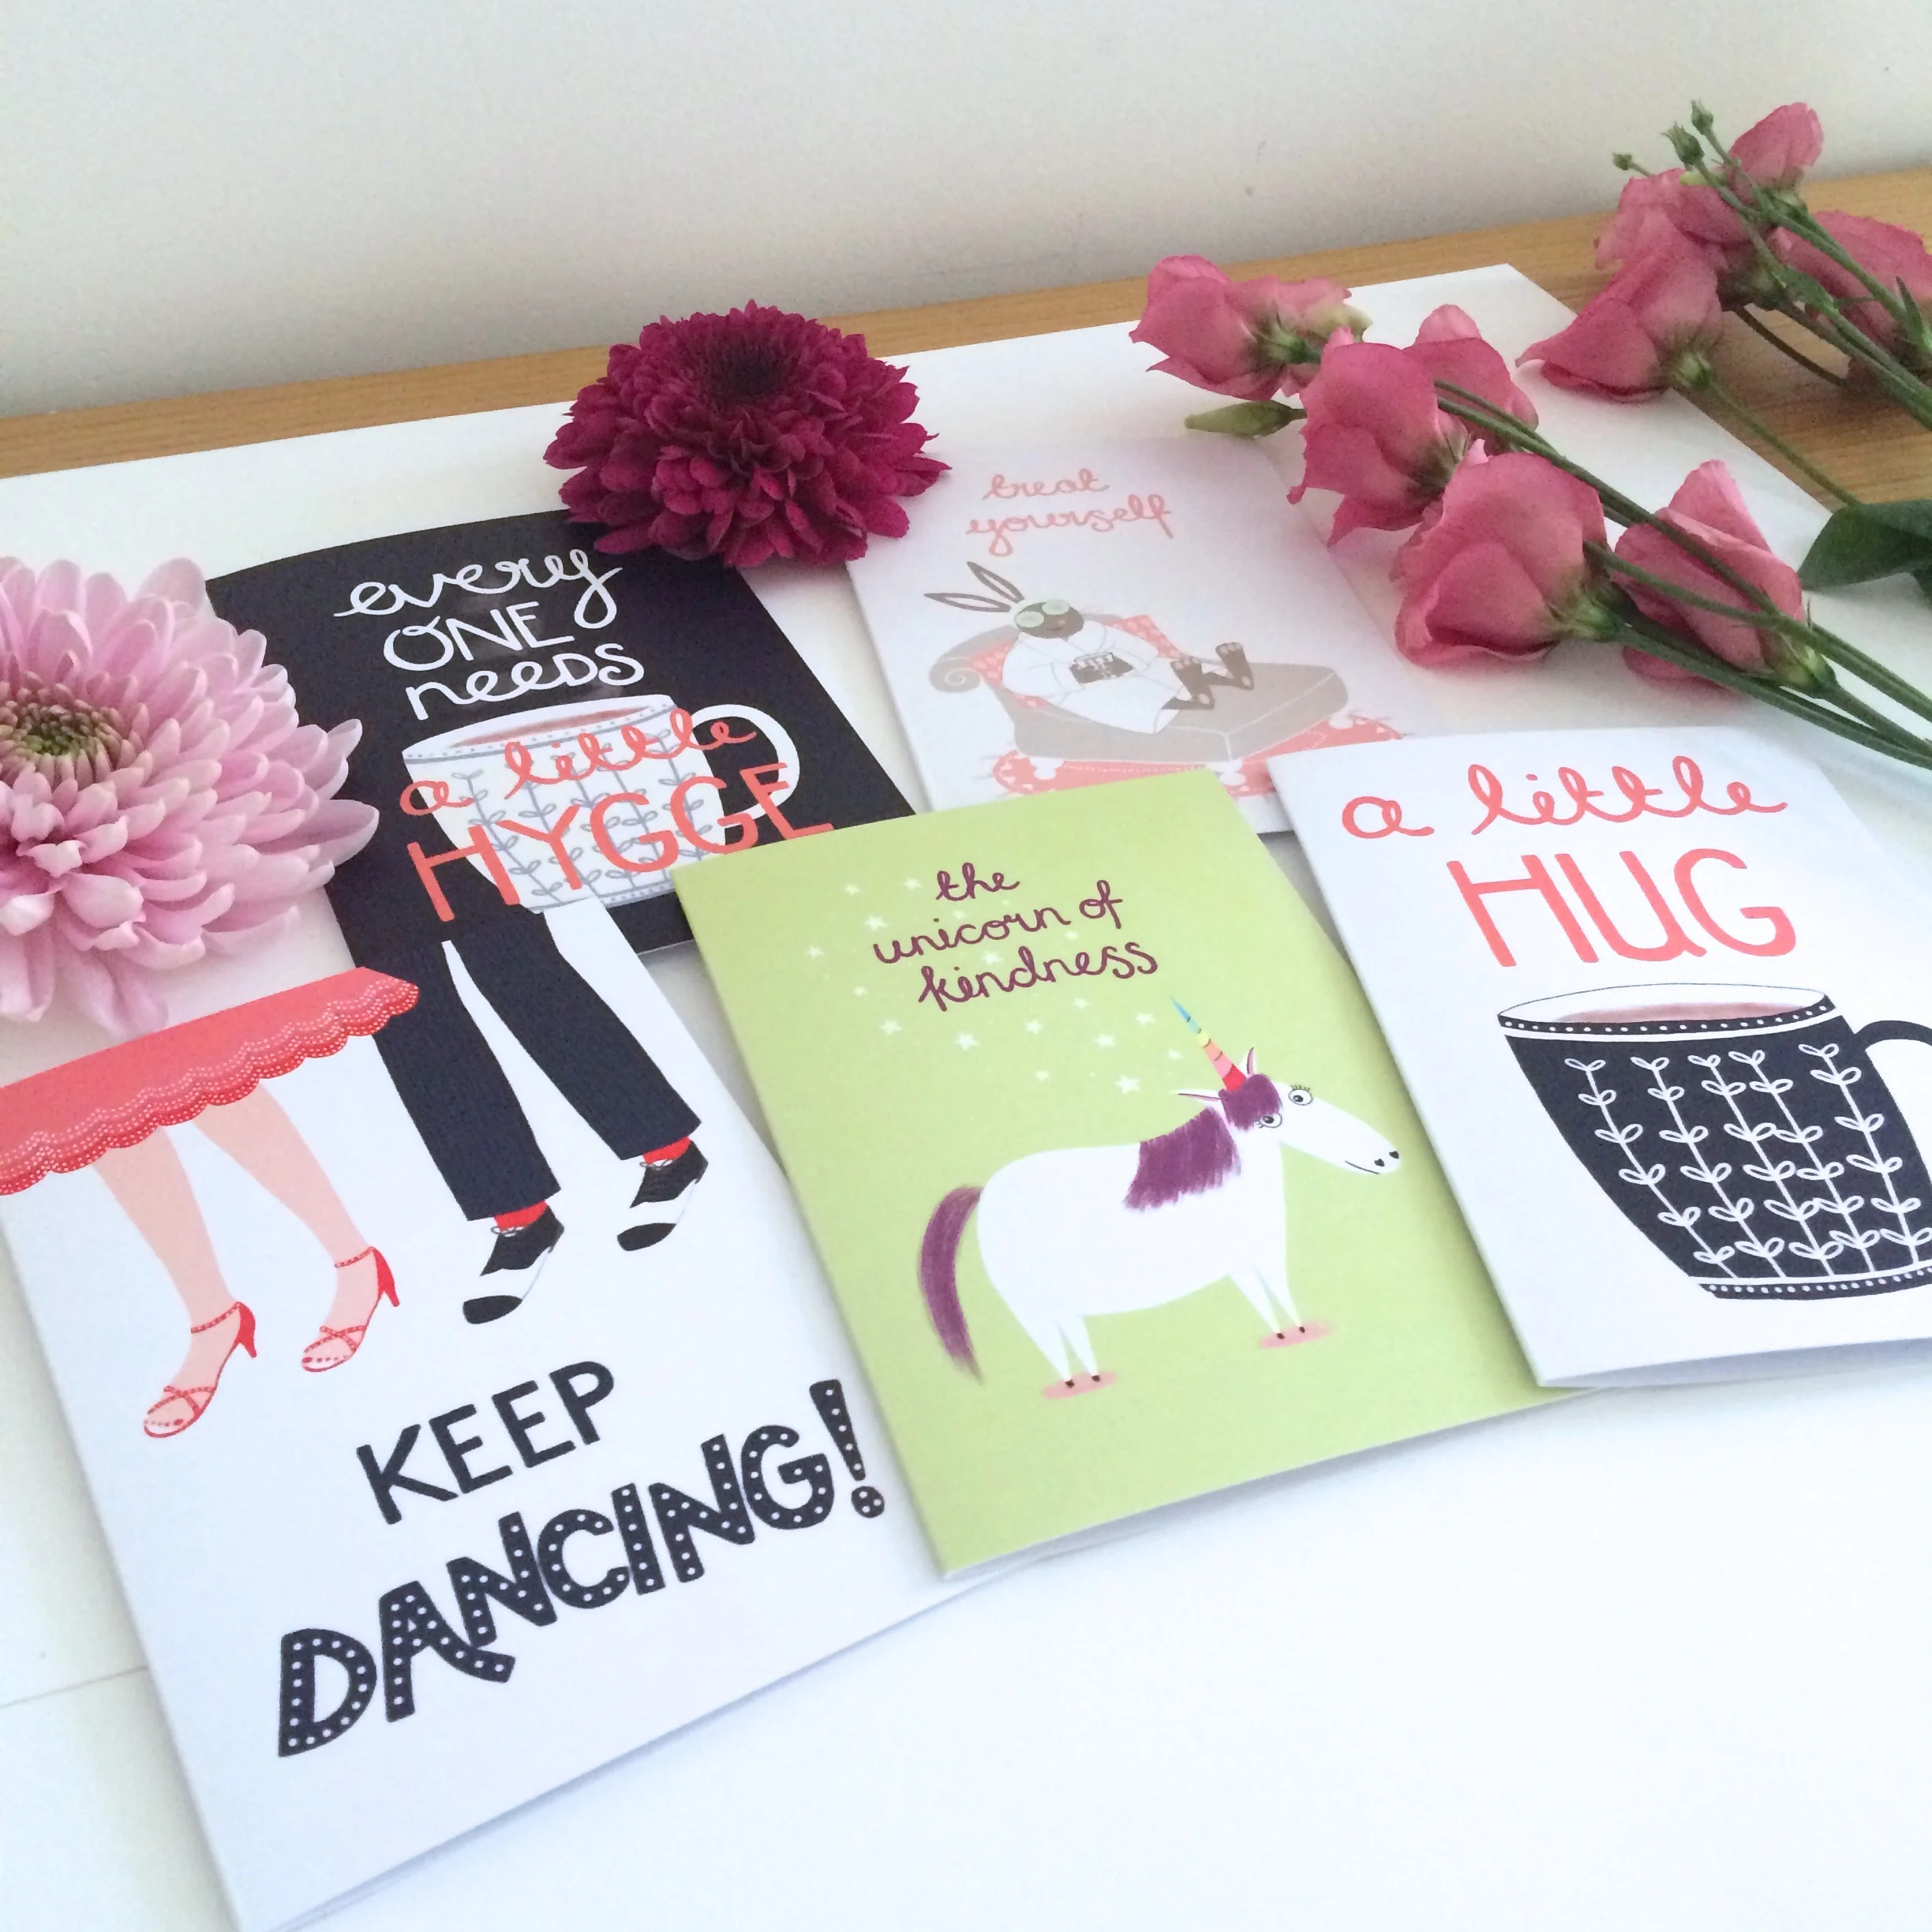
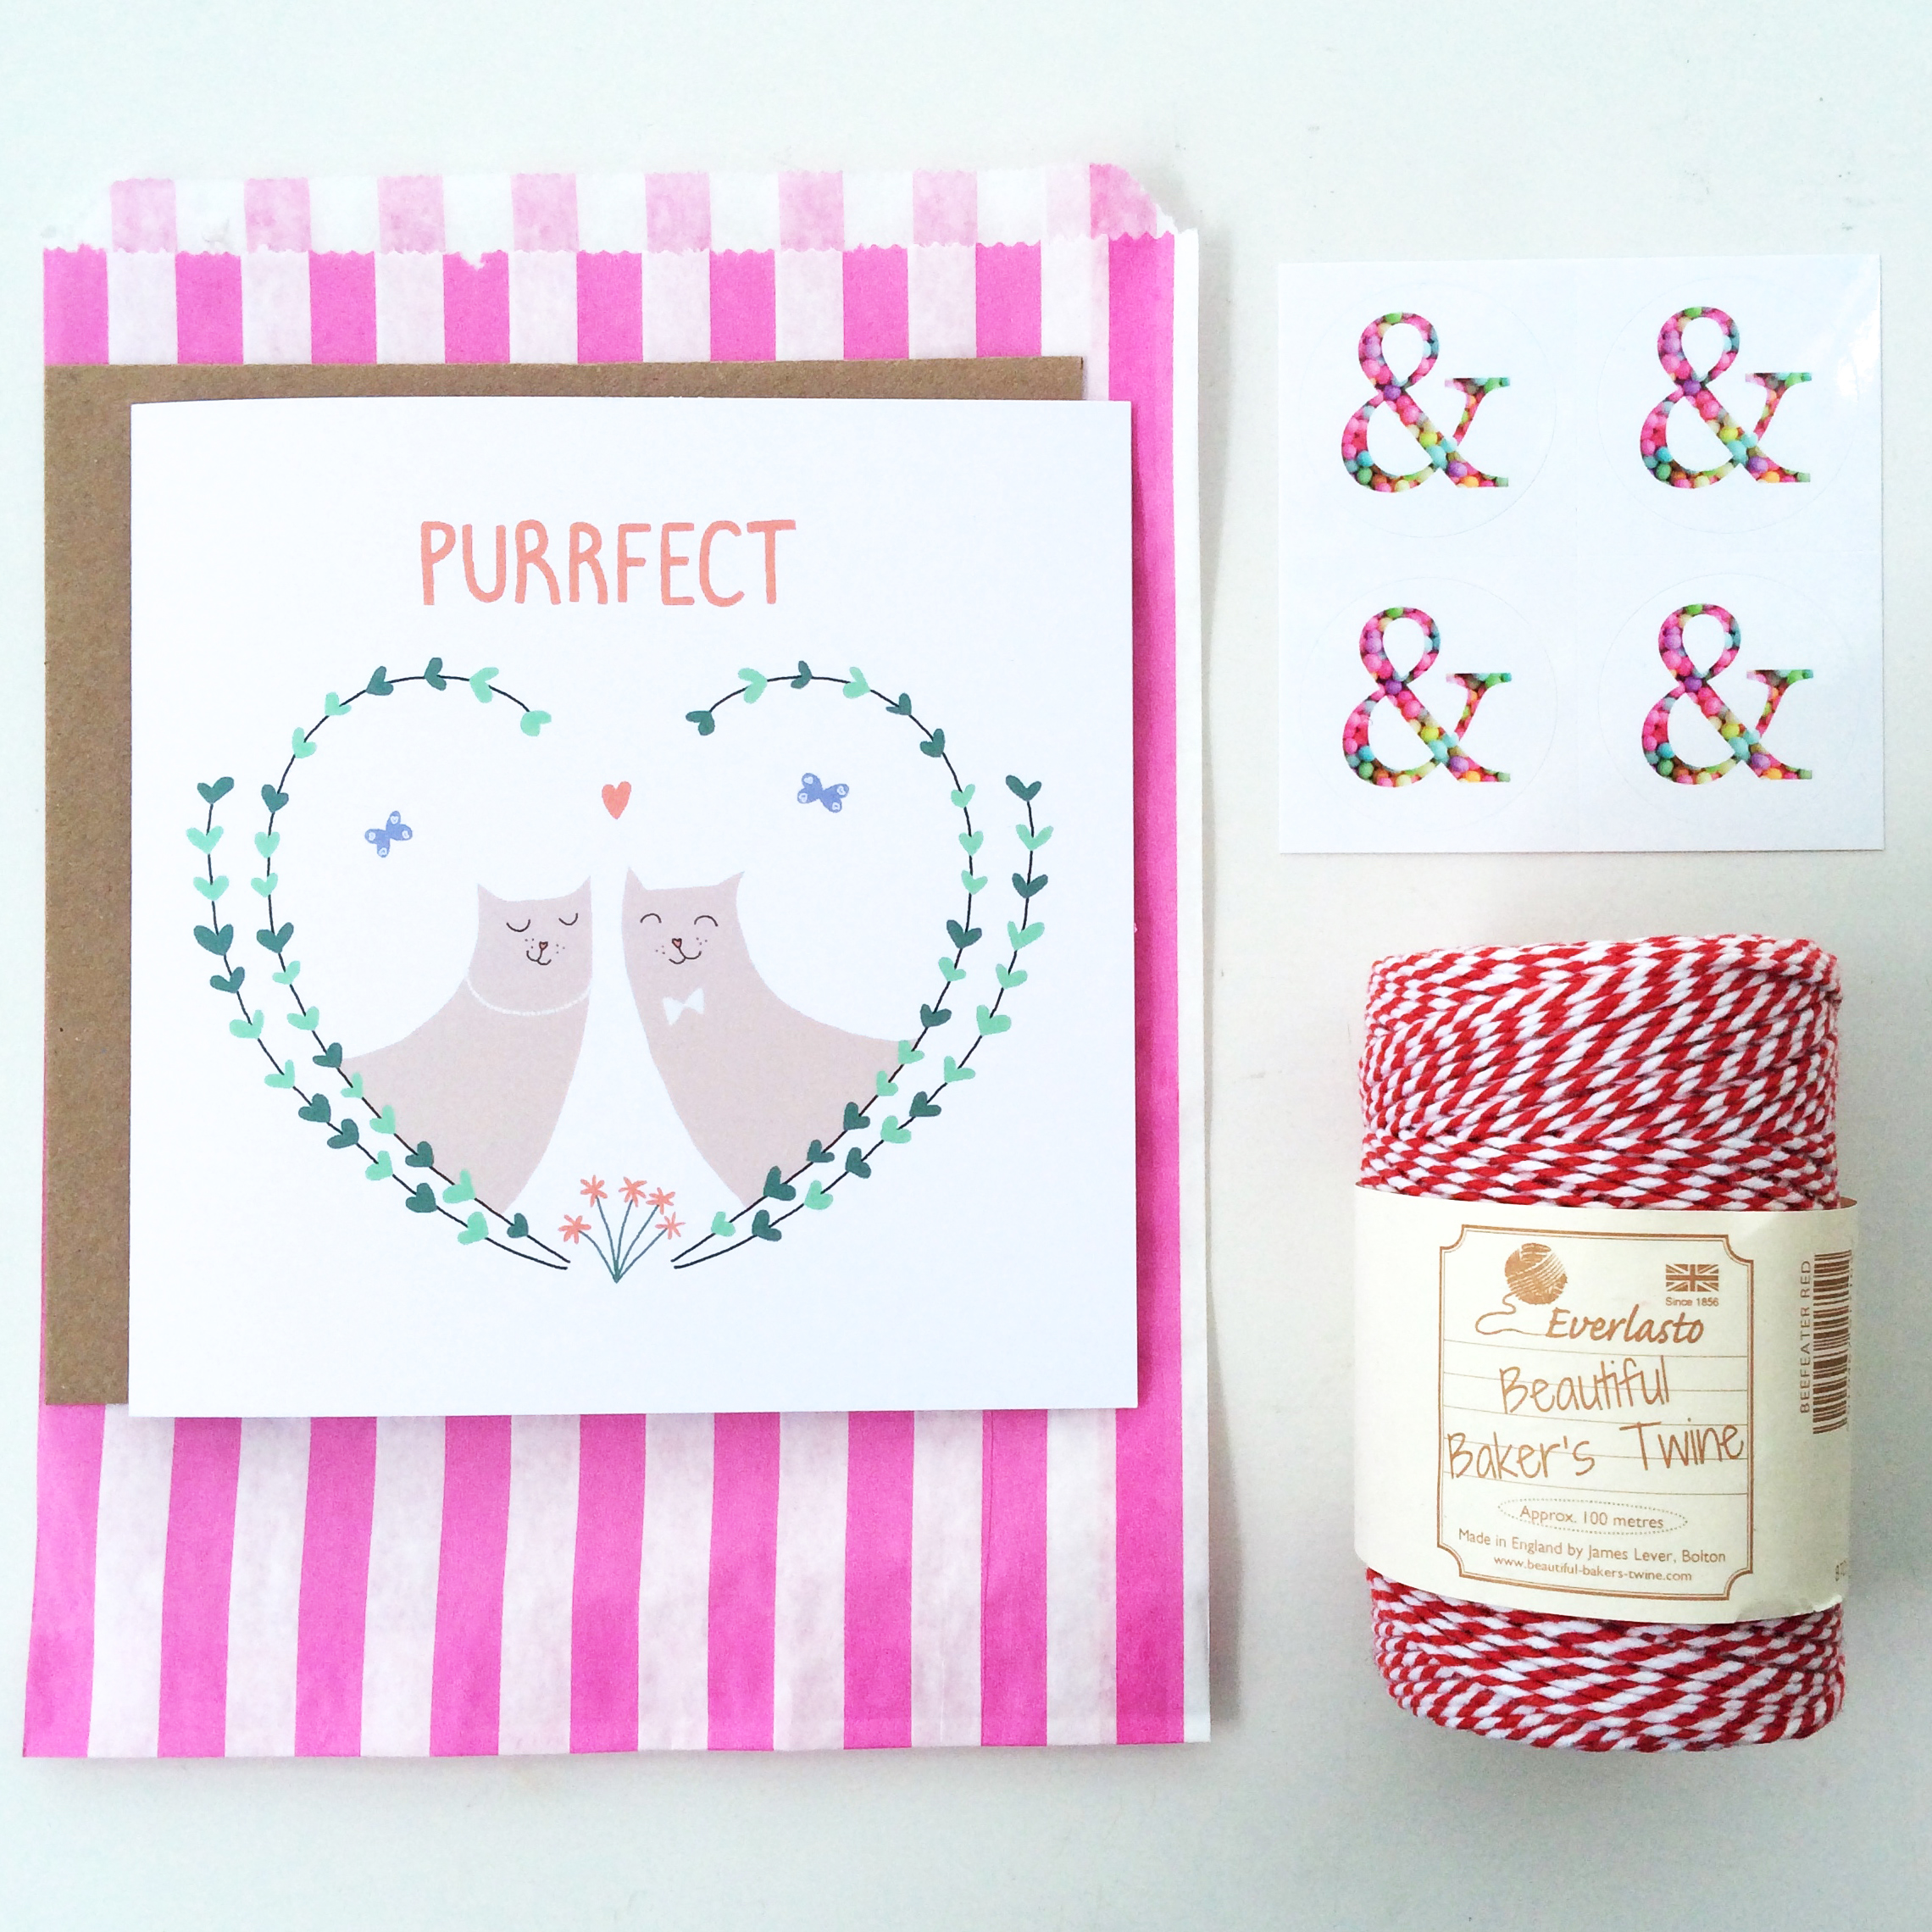
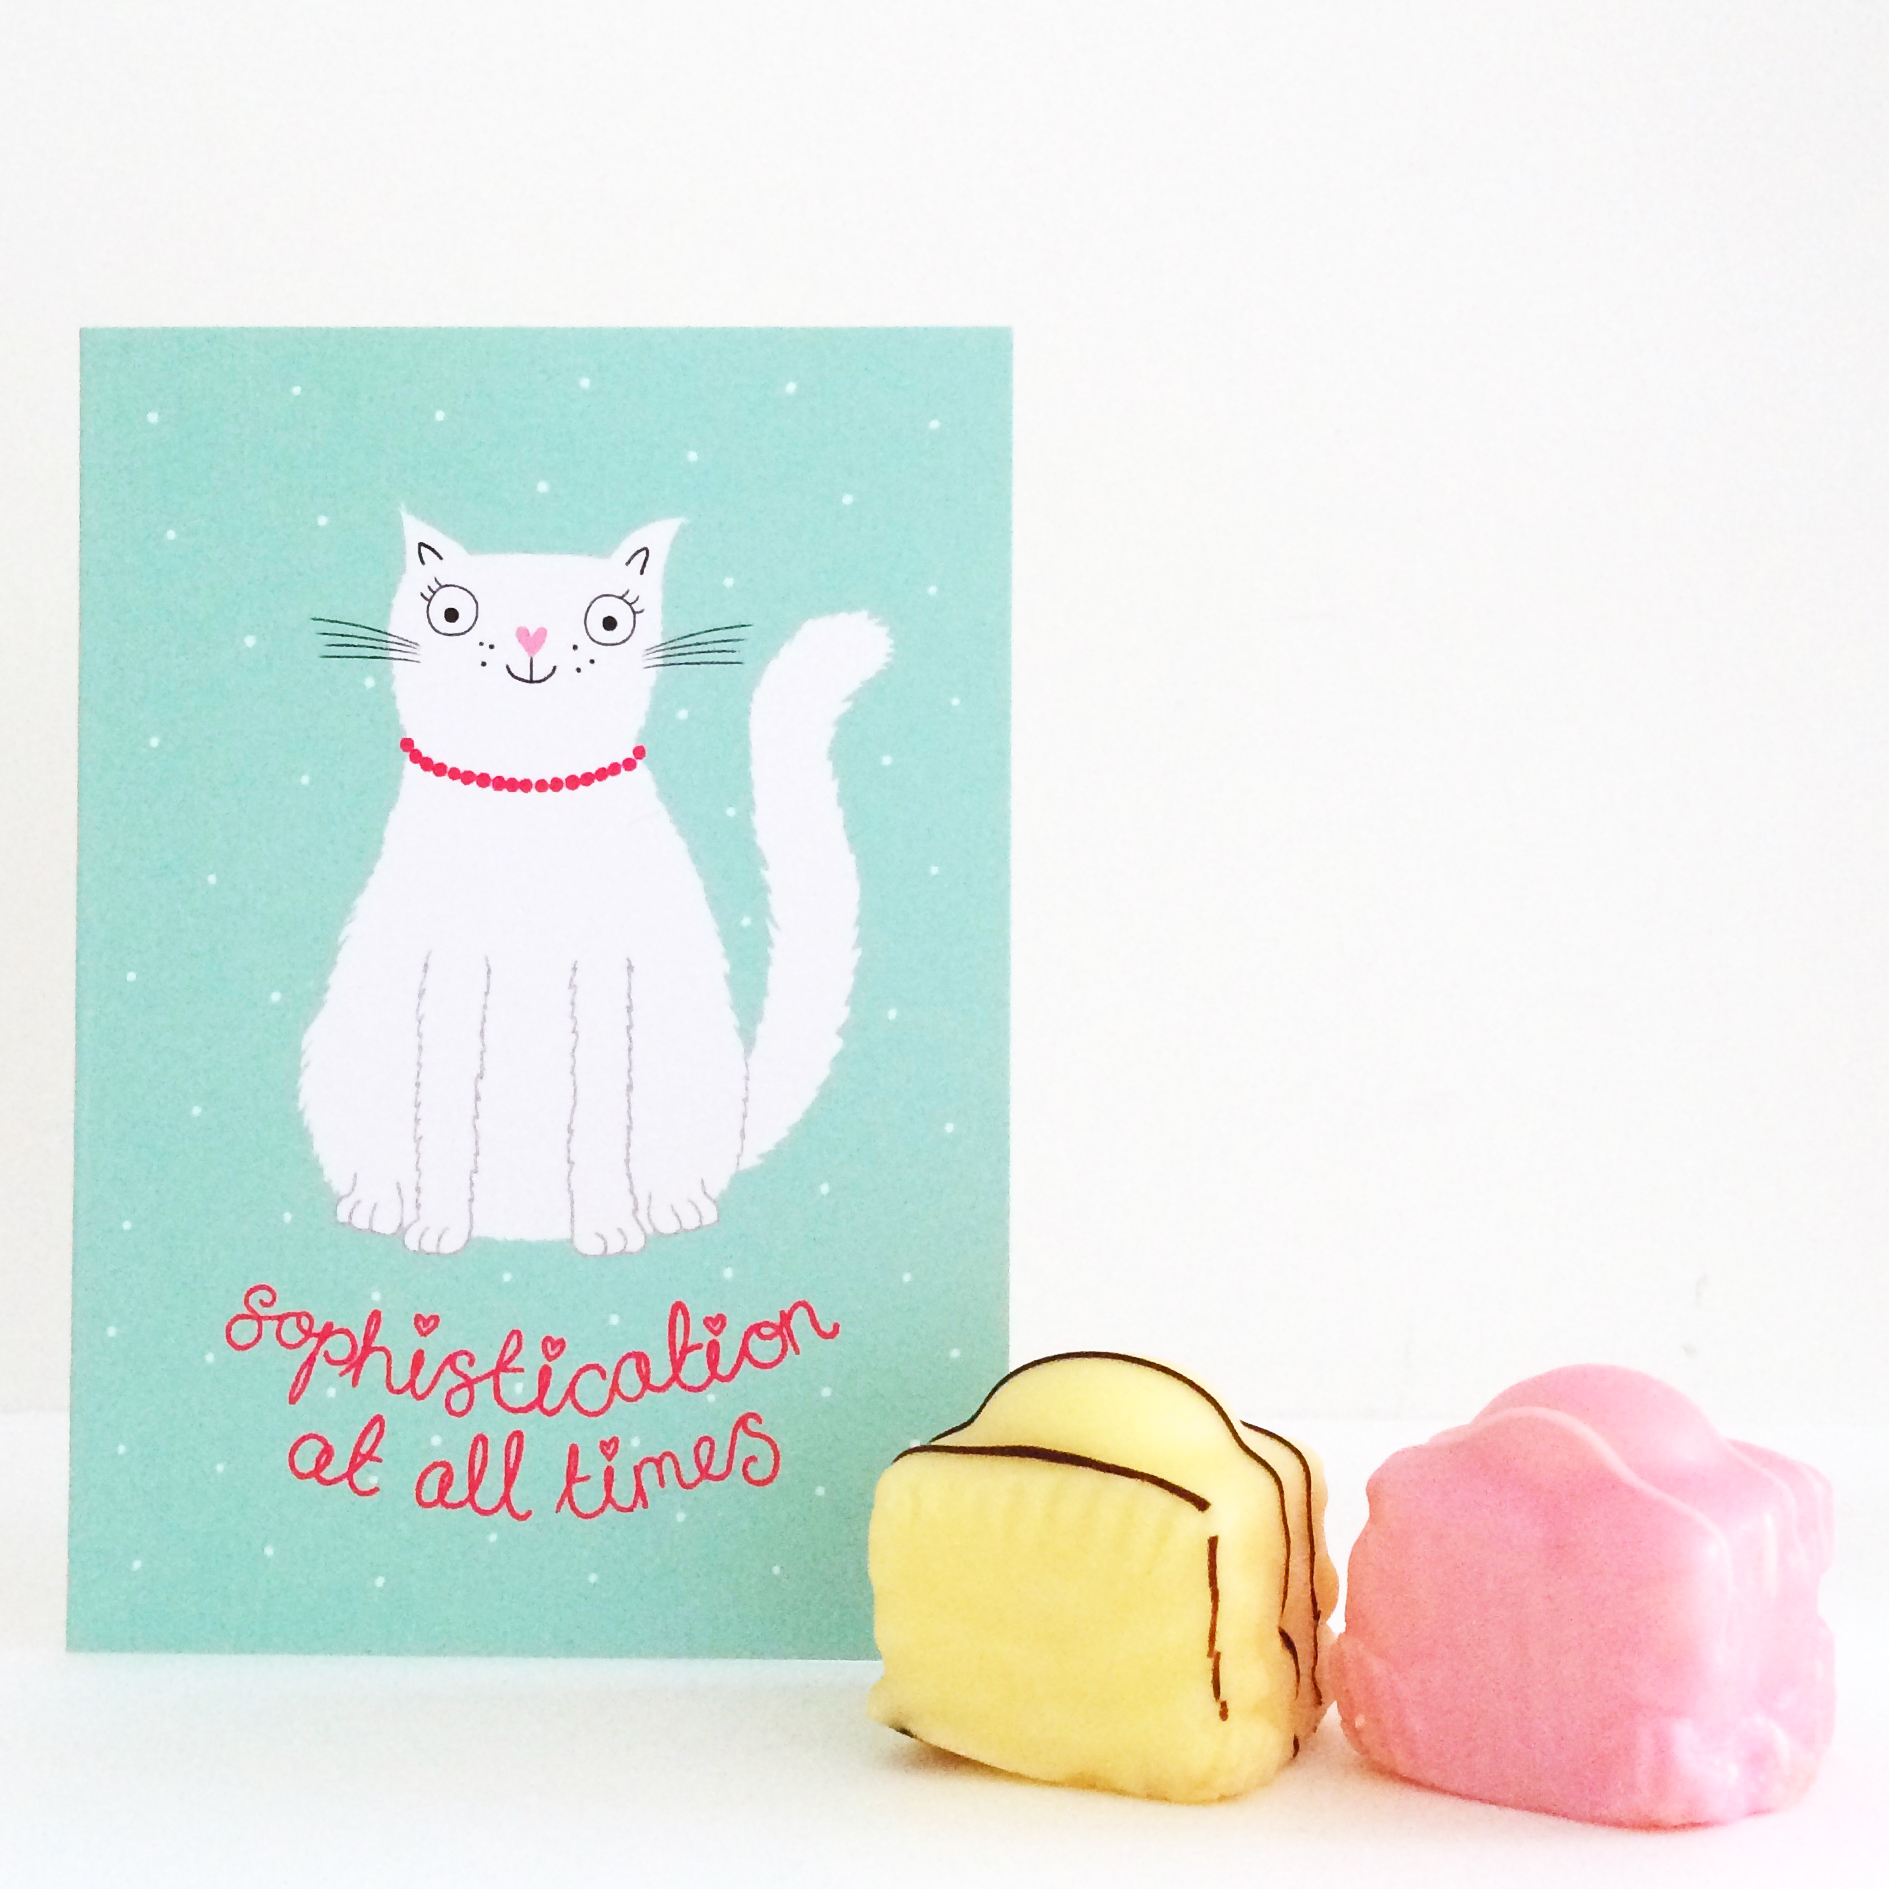
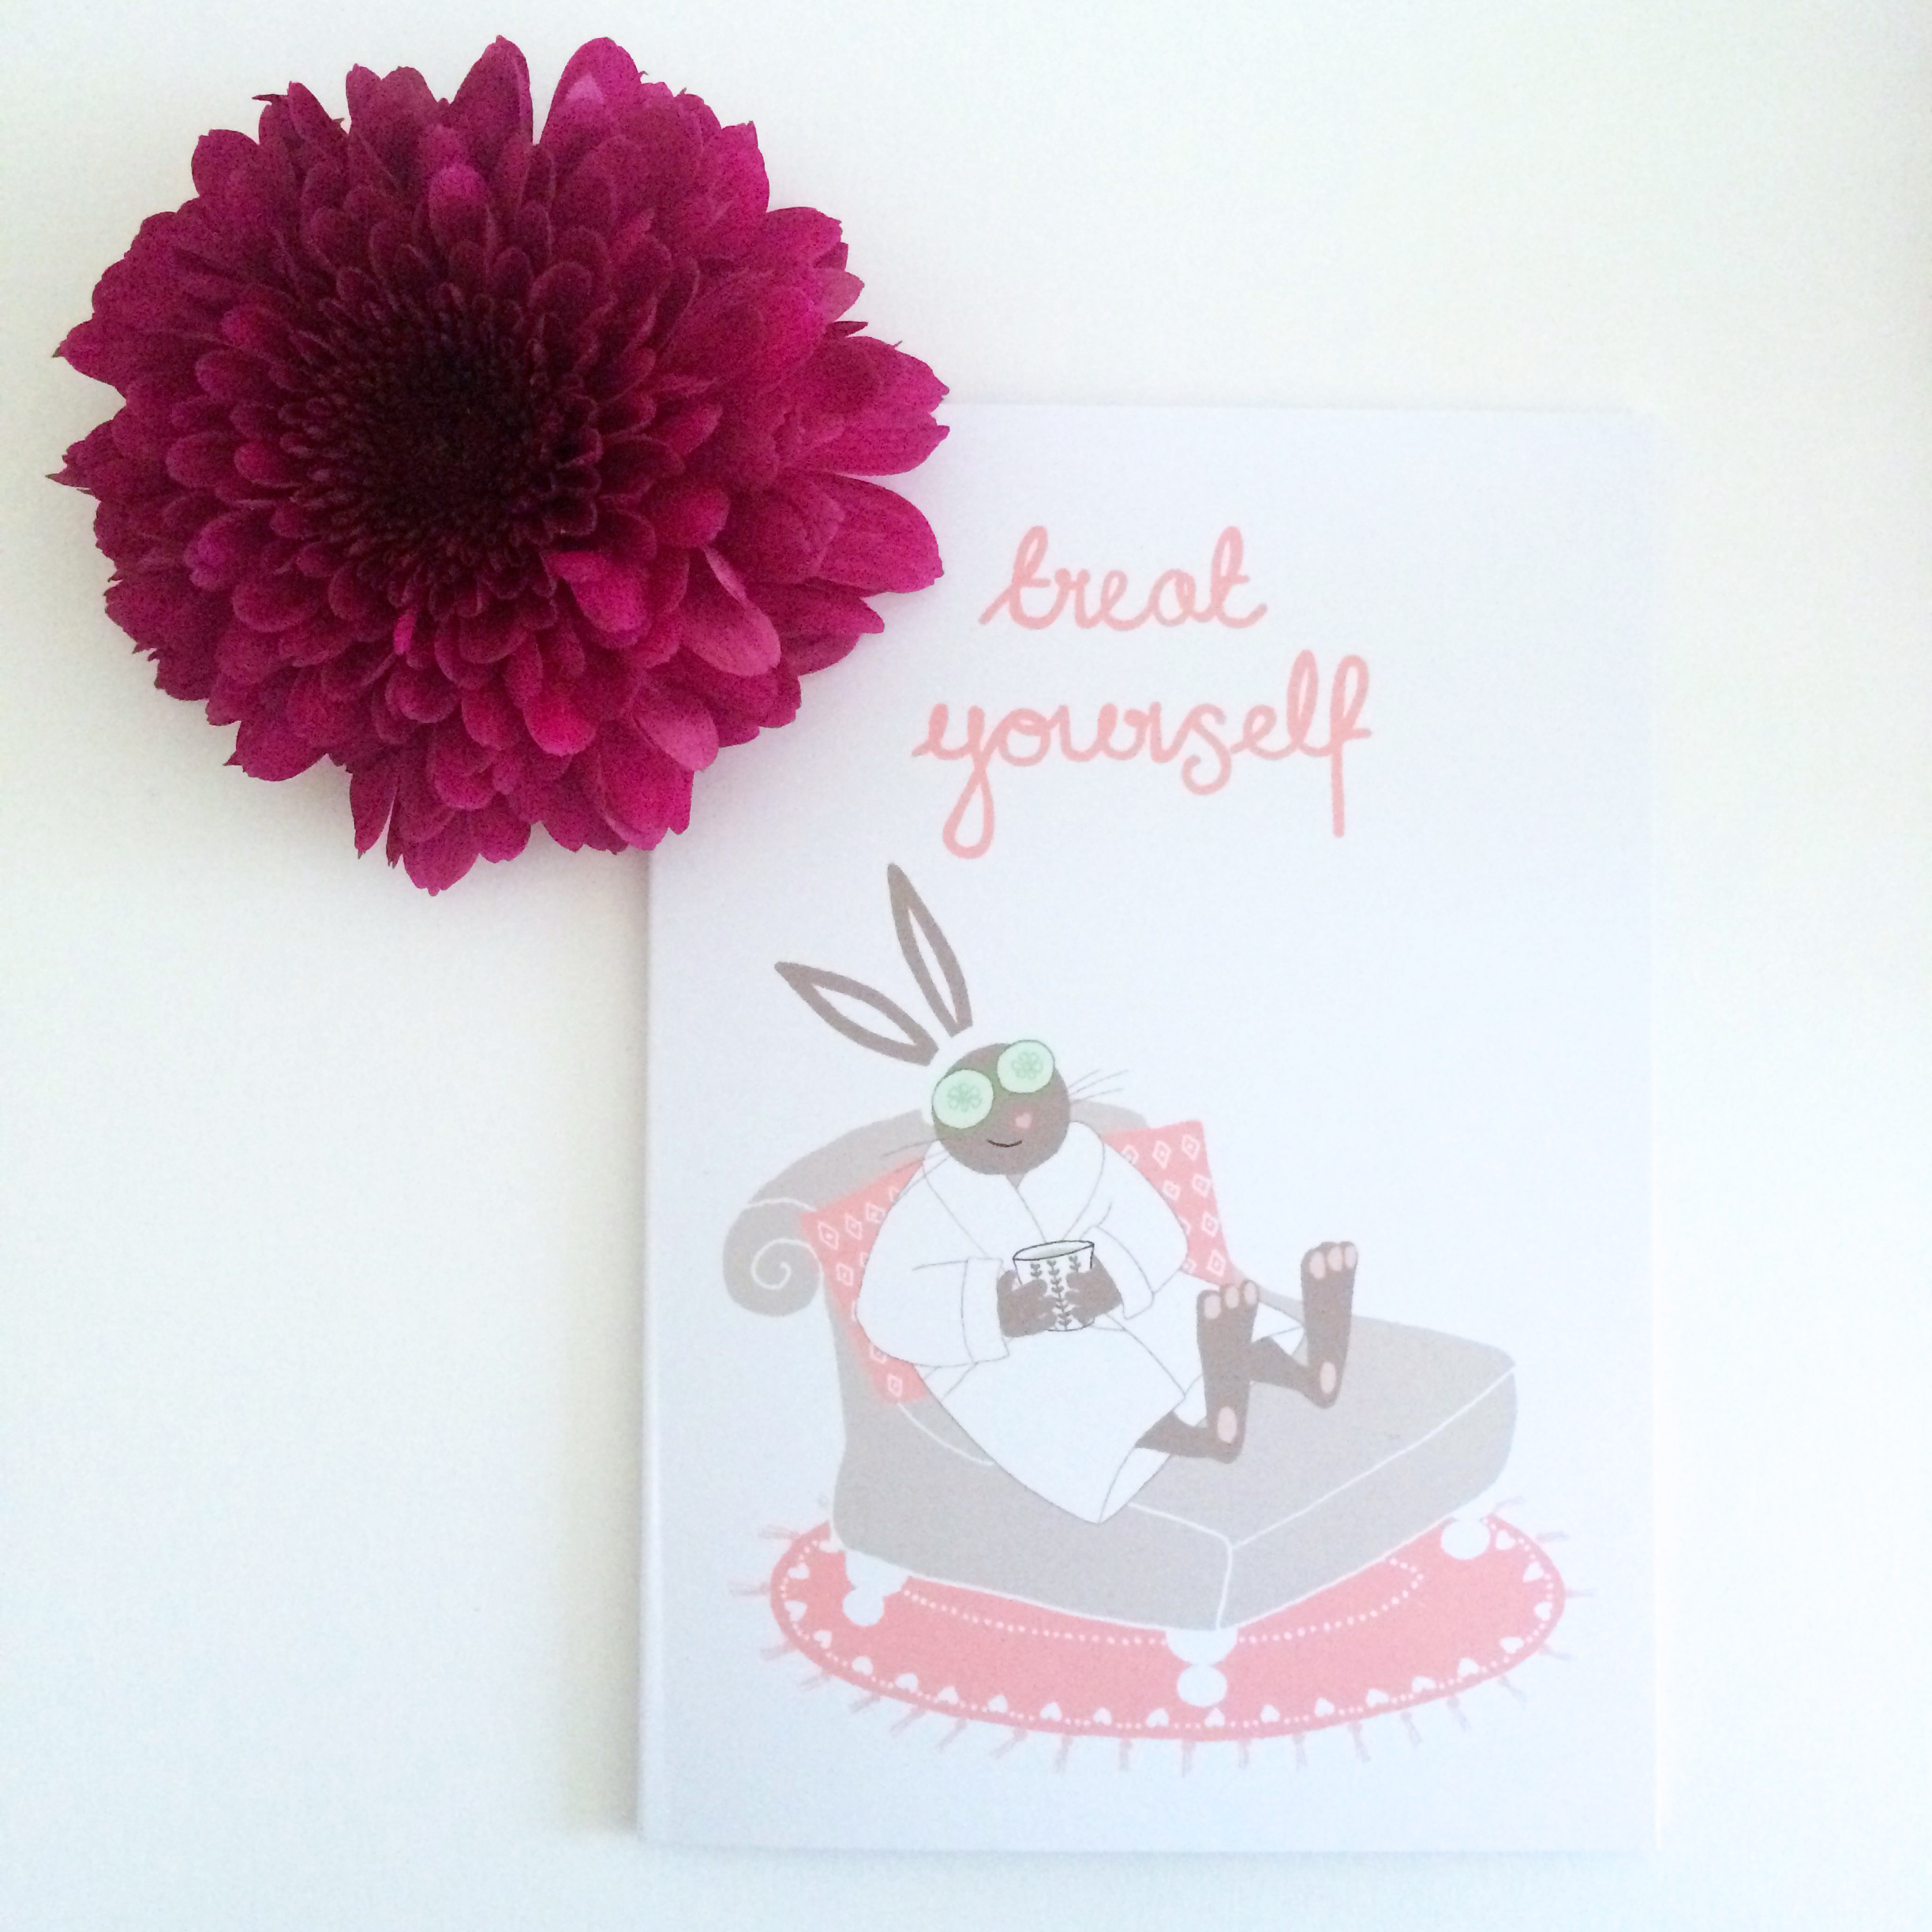
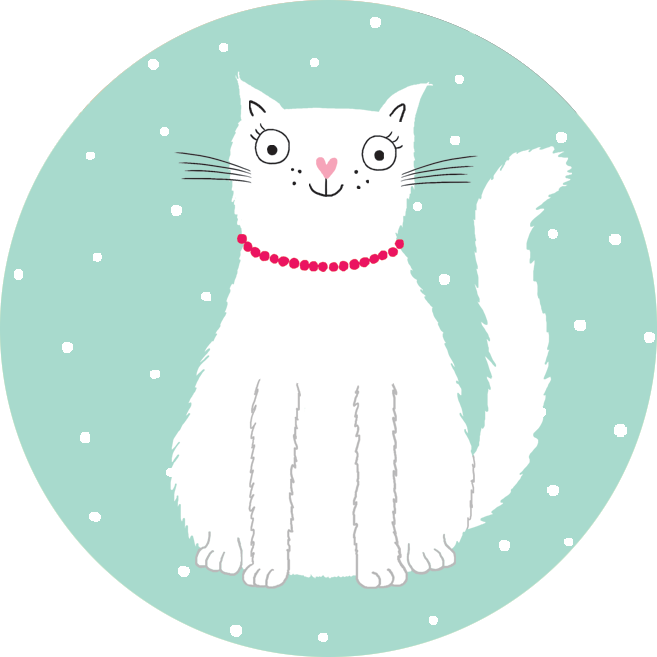
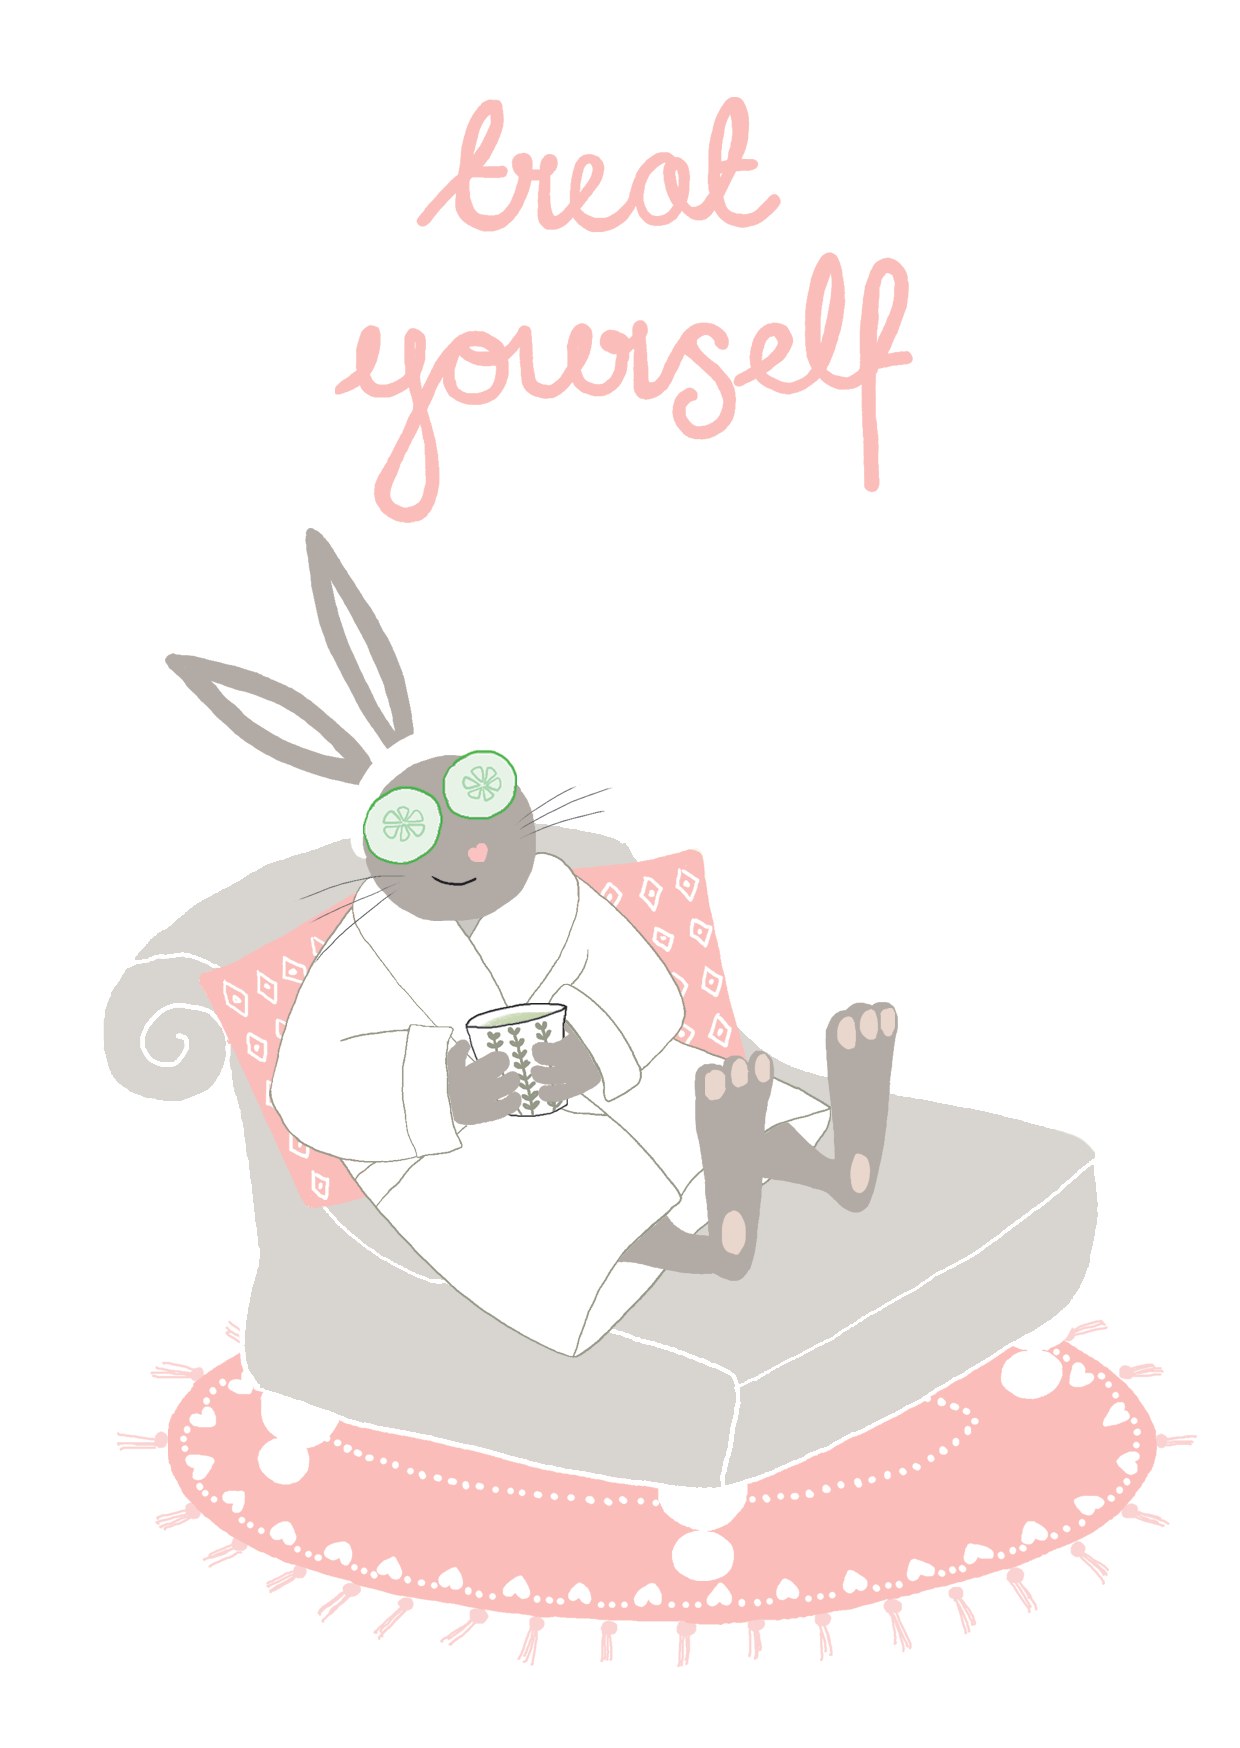
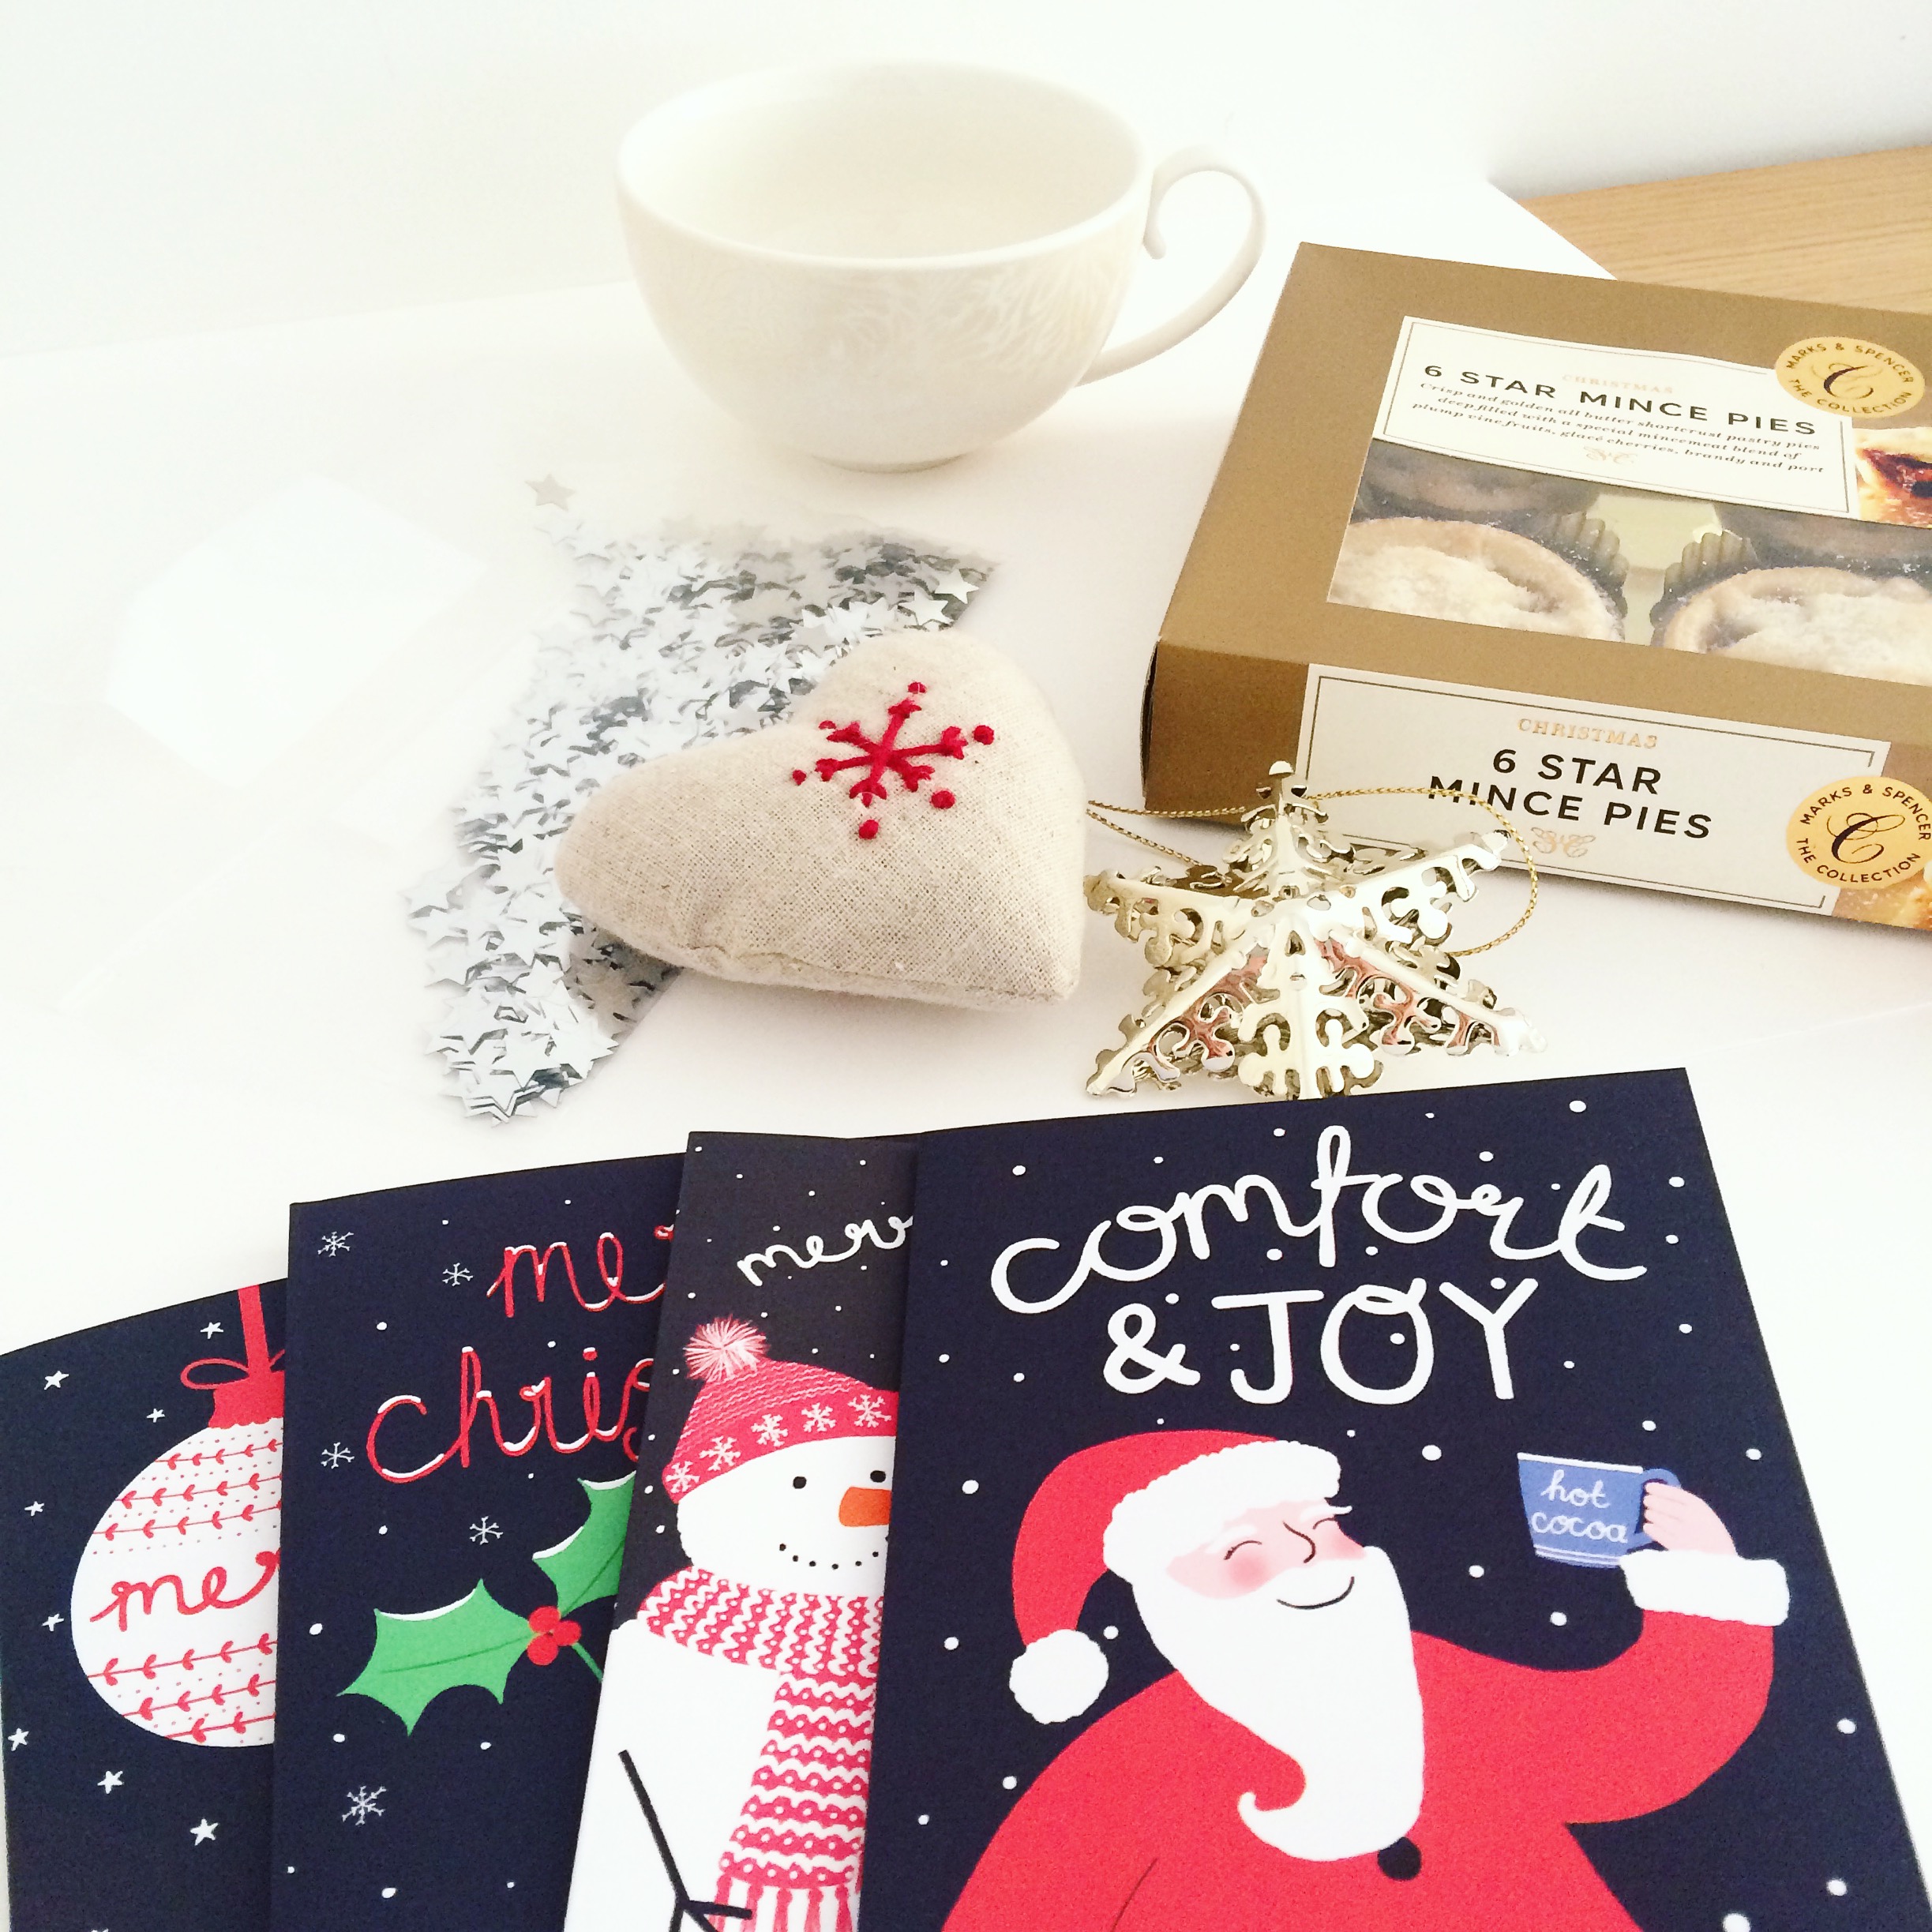
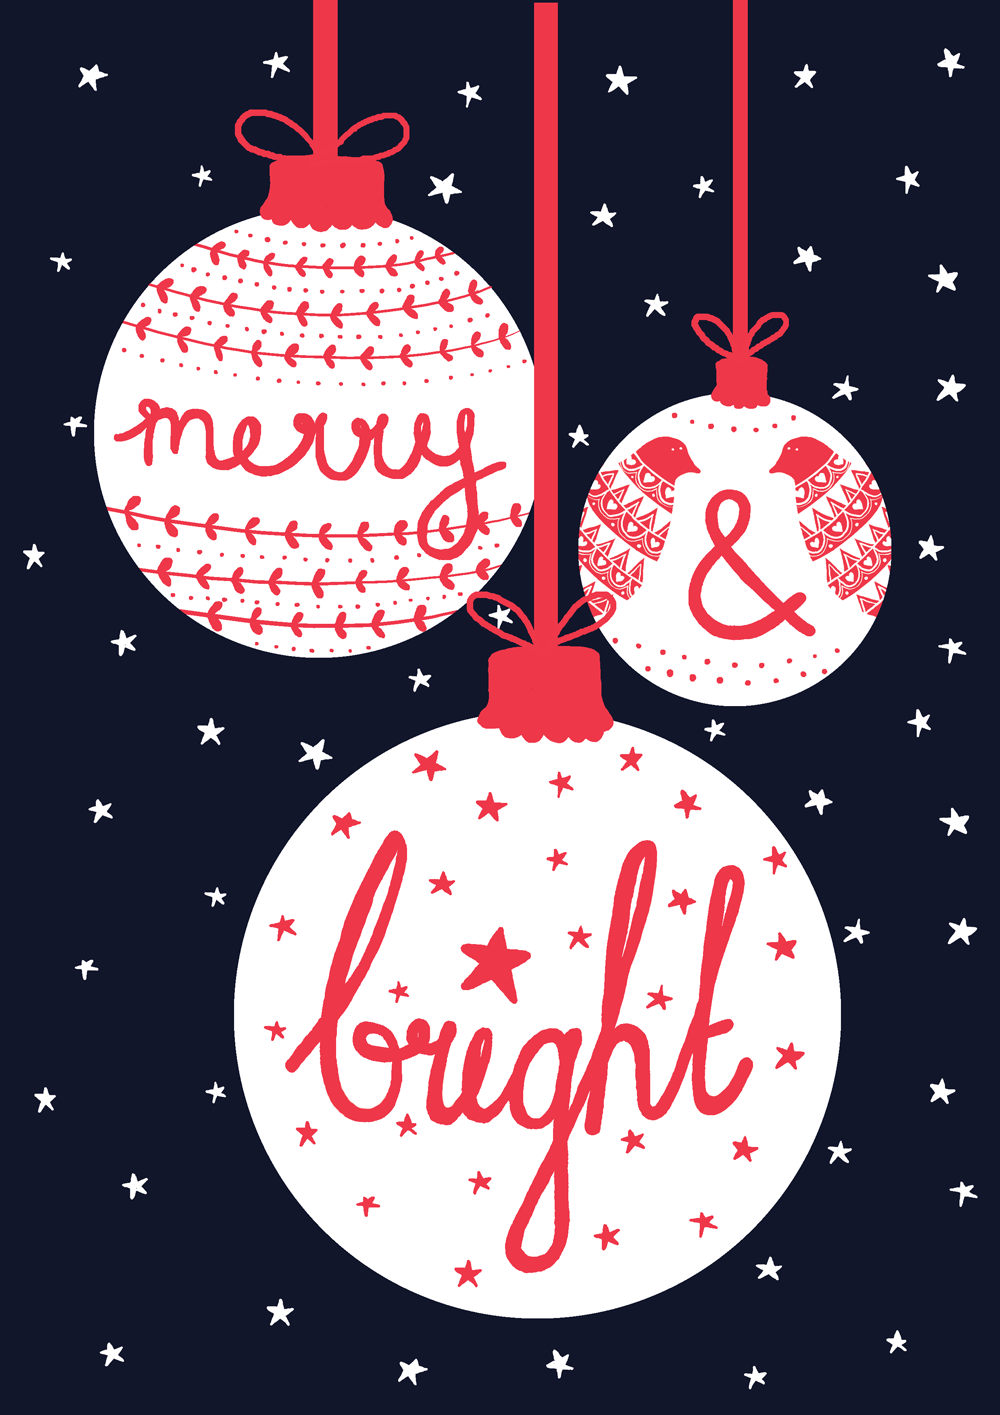
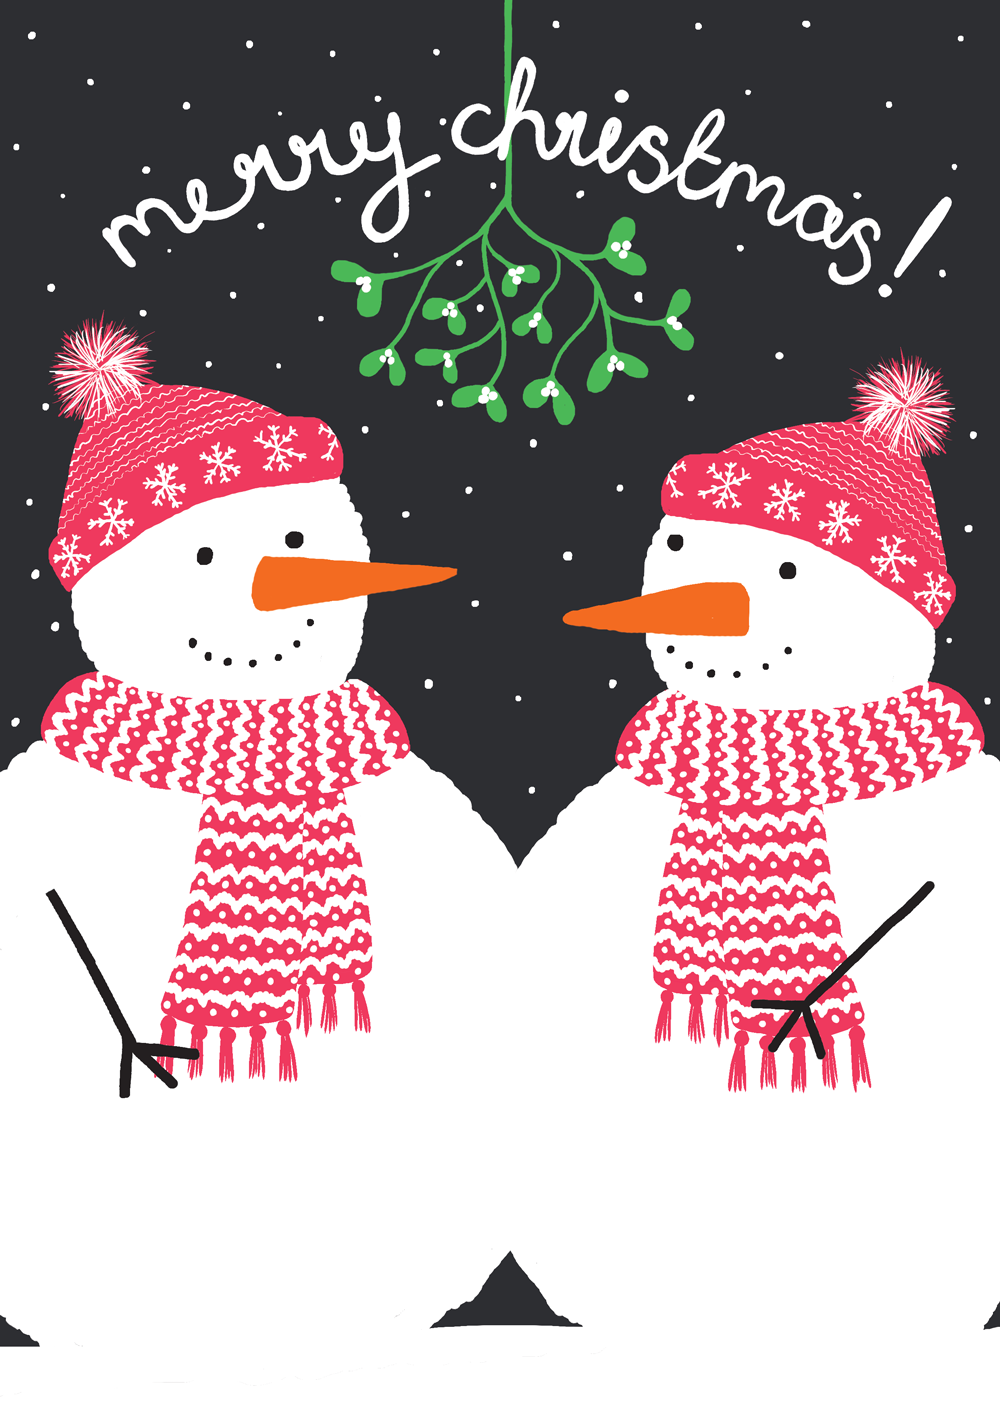
Today was an exciting day as the first batch of greetings cards for my Etsy shop arrived from the printer. Whenever I open a box of new products that I've created I feel like George McFly when he opens his box of books in Back To The Future. It's so fun seeing something you've put so much time and effort into come to life.

I've used a variety of printers in the past and this time I used Printed.com. I wanted an uncoated matte finish with Kraft style envelopes and flexibility to use my own designs on the front and the back. Printed.com offered all of these things and I'm really happy with the results.

If you are sending some of your own designs off to print for the first time, here are my top five things to think about.

1. File type
Make sure you save your files exactly as the printer needs them. Each print service details their requirements on their site. Most will be happy with 300dpi jpgs or pdfs. If you've got any questions or concerns, contact the printer before you commit to your order.

2. Colour profile
Ensure your print files are saved as CMYK so that the colours are true to your design. I am not an expert so check this with your printer first but I have only come across one printer who preferred RGB colour settings. As I understand it, if your file is RGB you should never simply re-save as CMYK as this will upset the colour balance.

3. Bleed
Printers will advise what bleed they require at the edge of your files. This is essentially a bit of extra space around the file to allow the finished product to be trimmed therefore allowing the colour to print right to the edge.

4. Card type
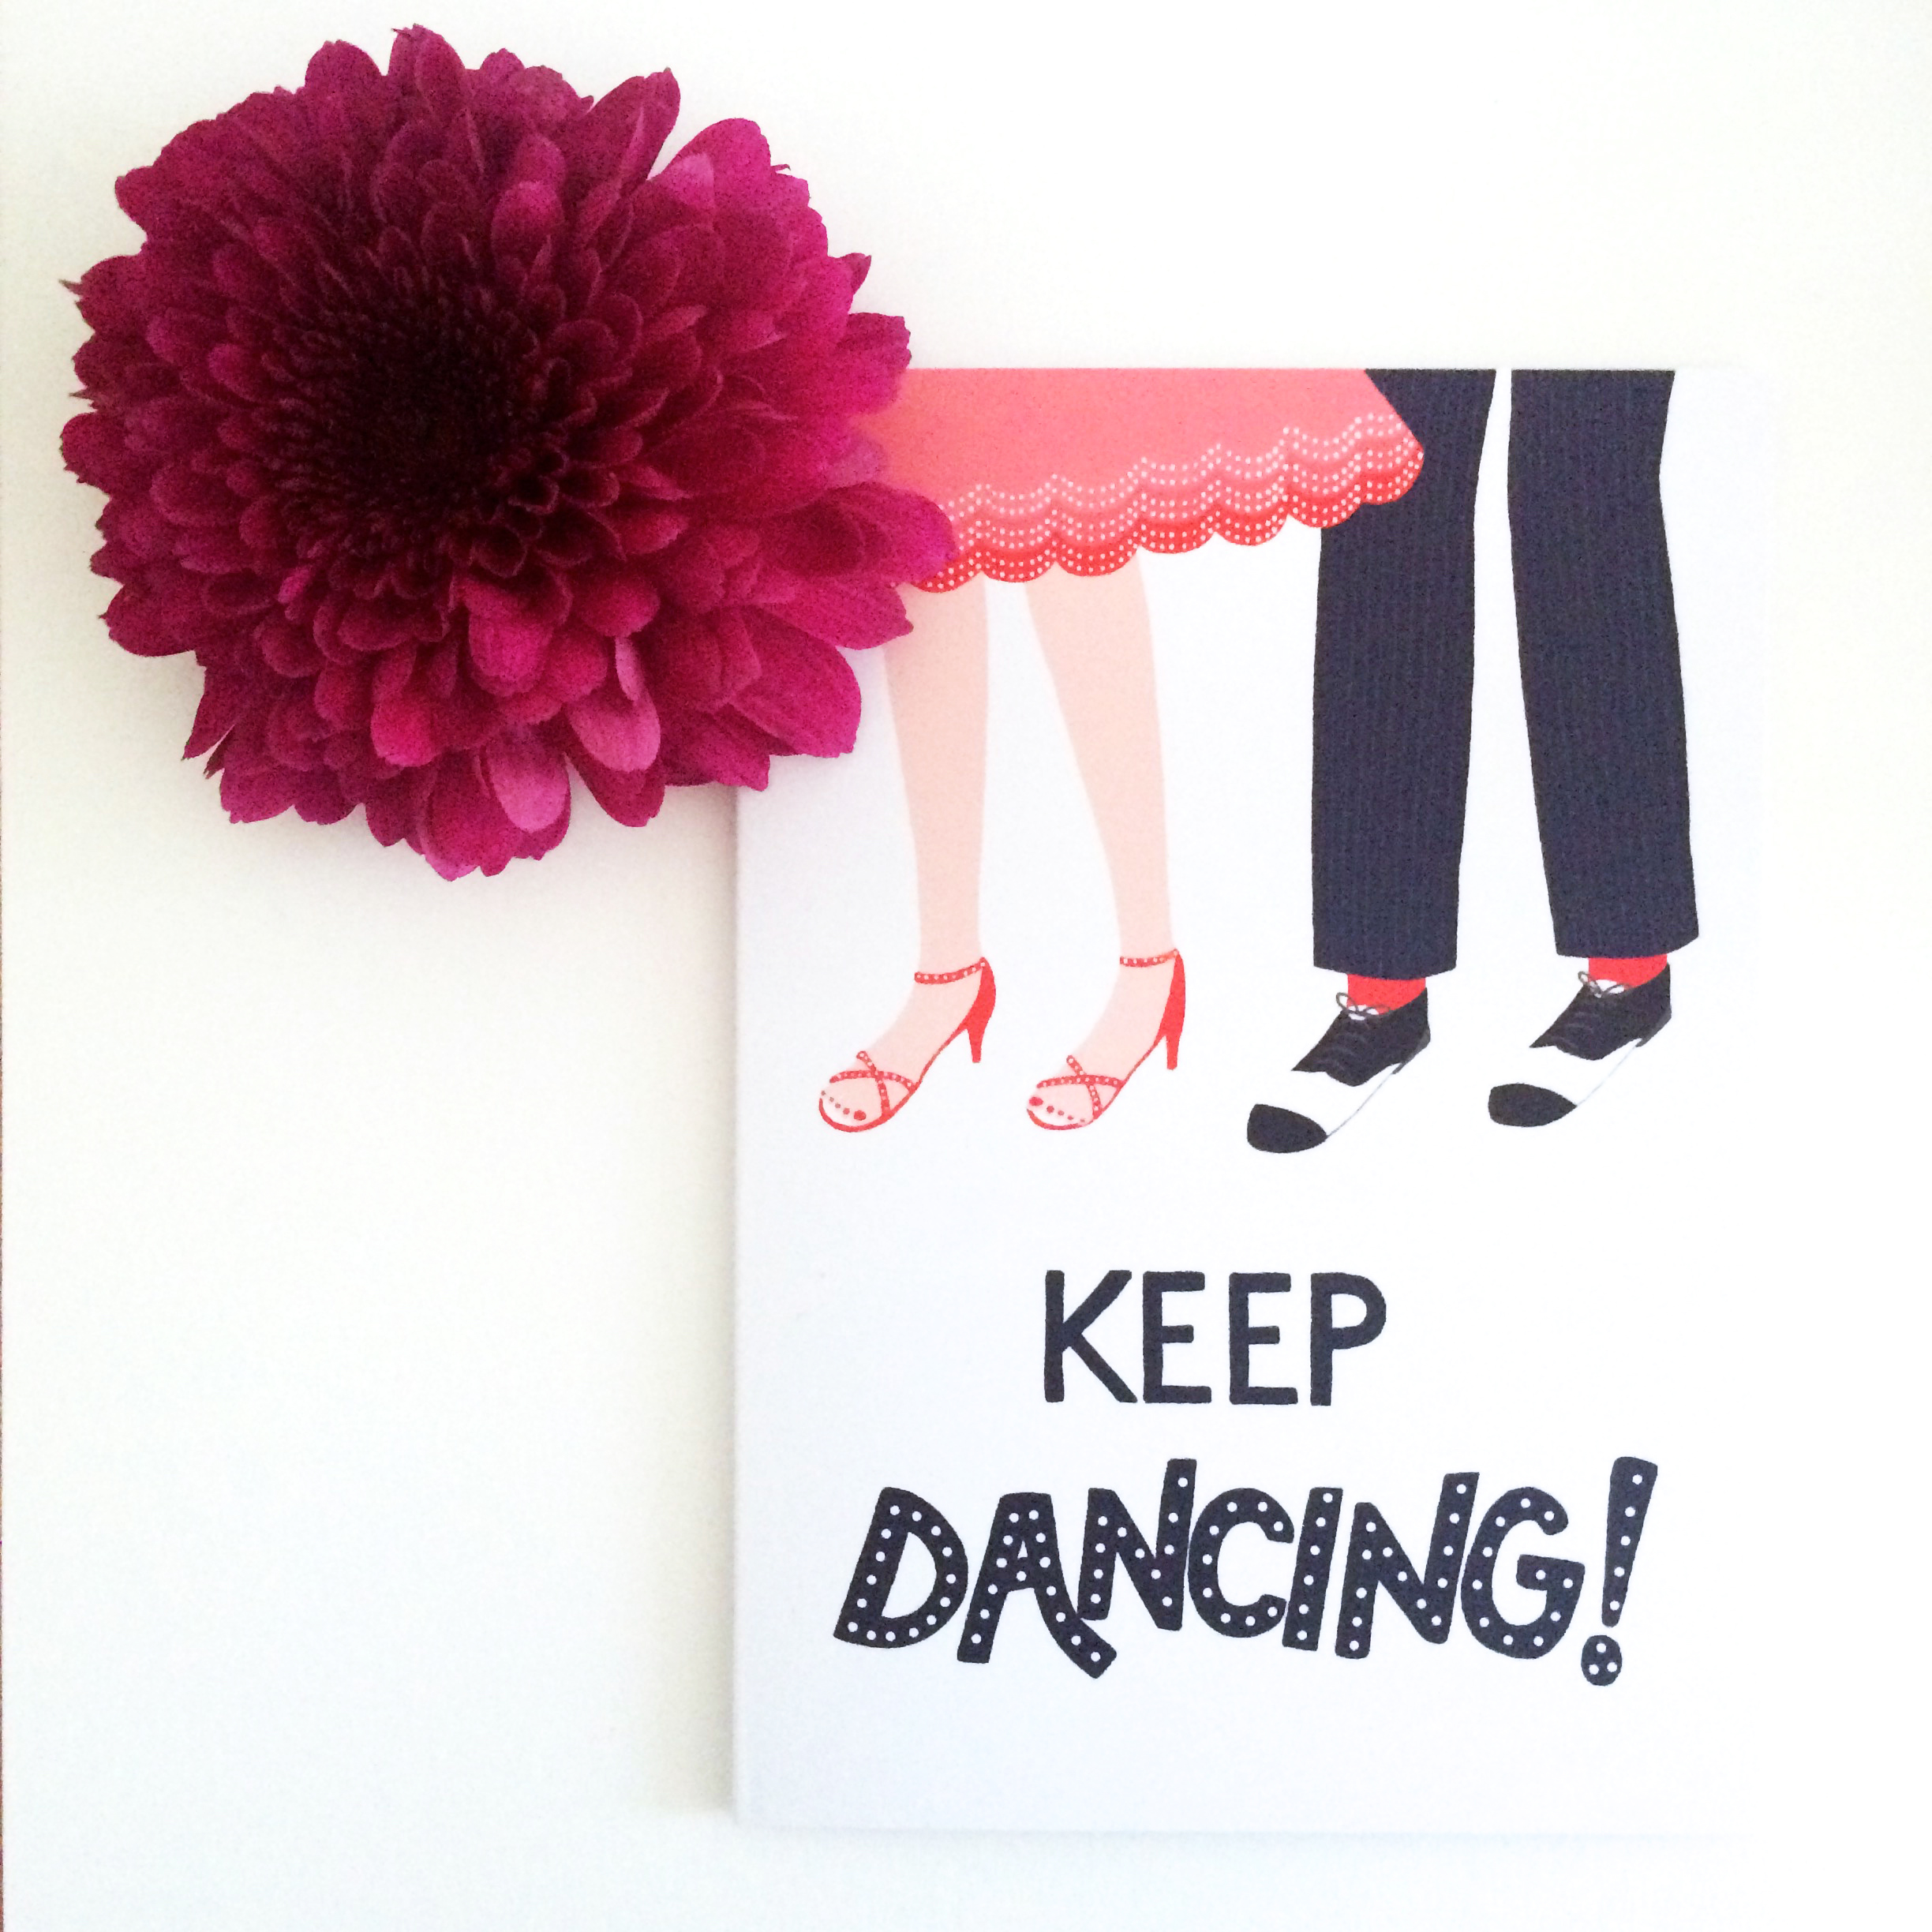
I've tried a few different card types in my last couple of print runs of greetings cards. Some printers offer 'Trucard' which is said to be specifically for cards. It has a silky finish on the outside and is uncoated inside (for easy writing). However, I find it a bit too pristine and prefer the more simple and basic finish of uncoated card. If you're not sure, ask for some samples before committing to your order.

5. Envelopes
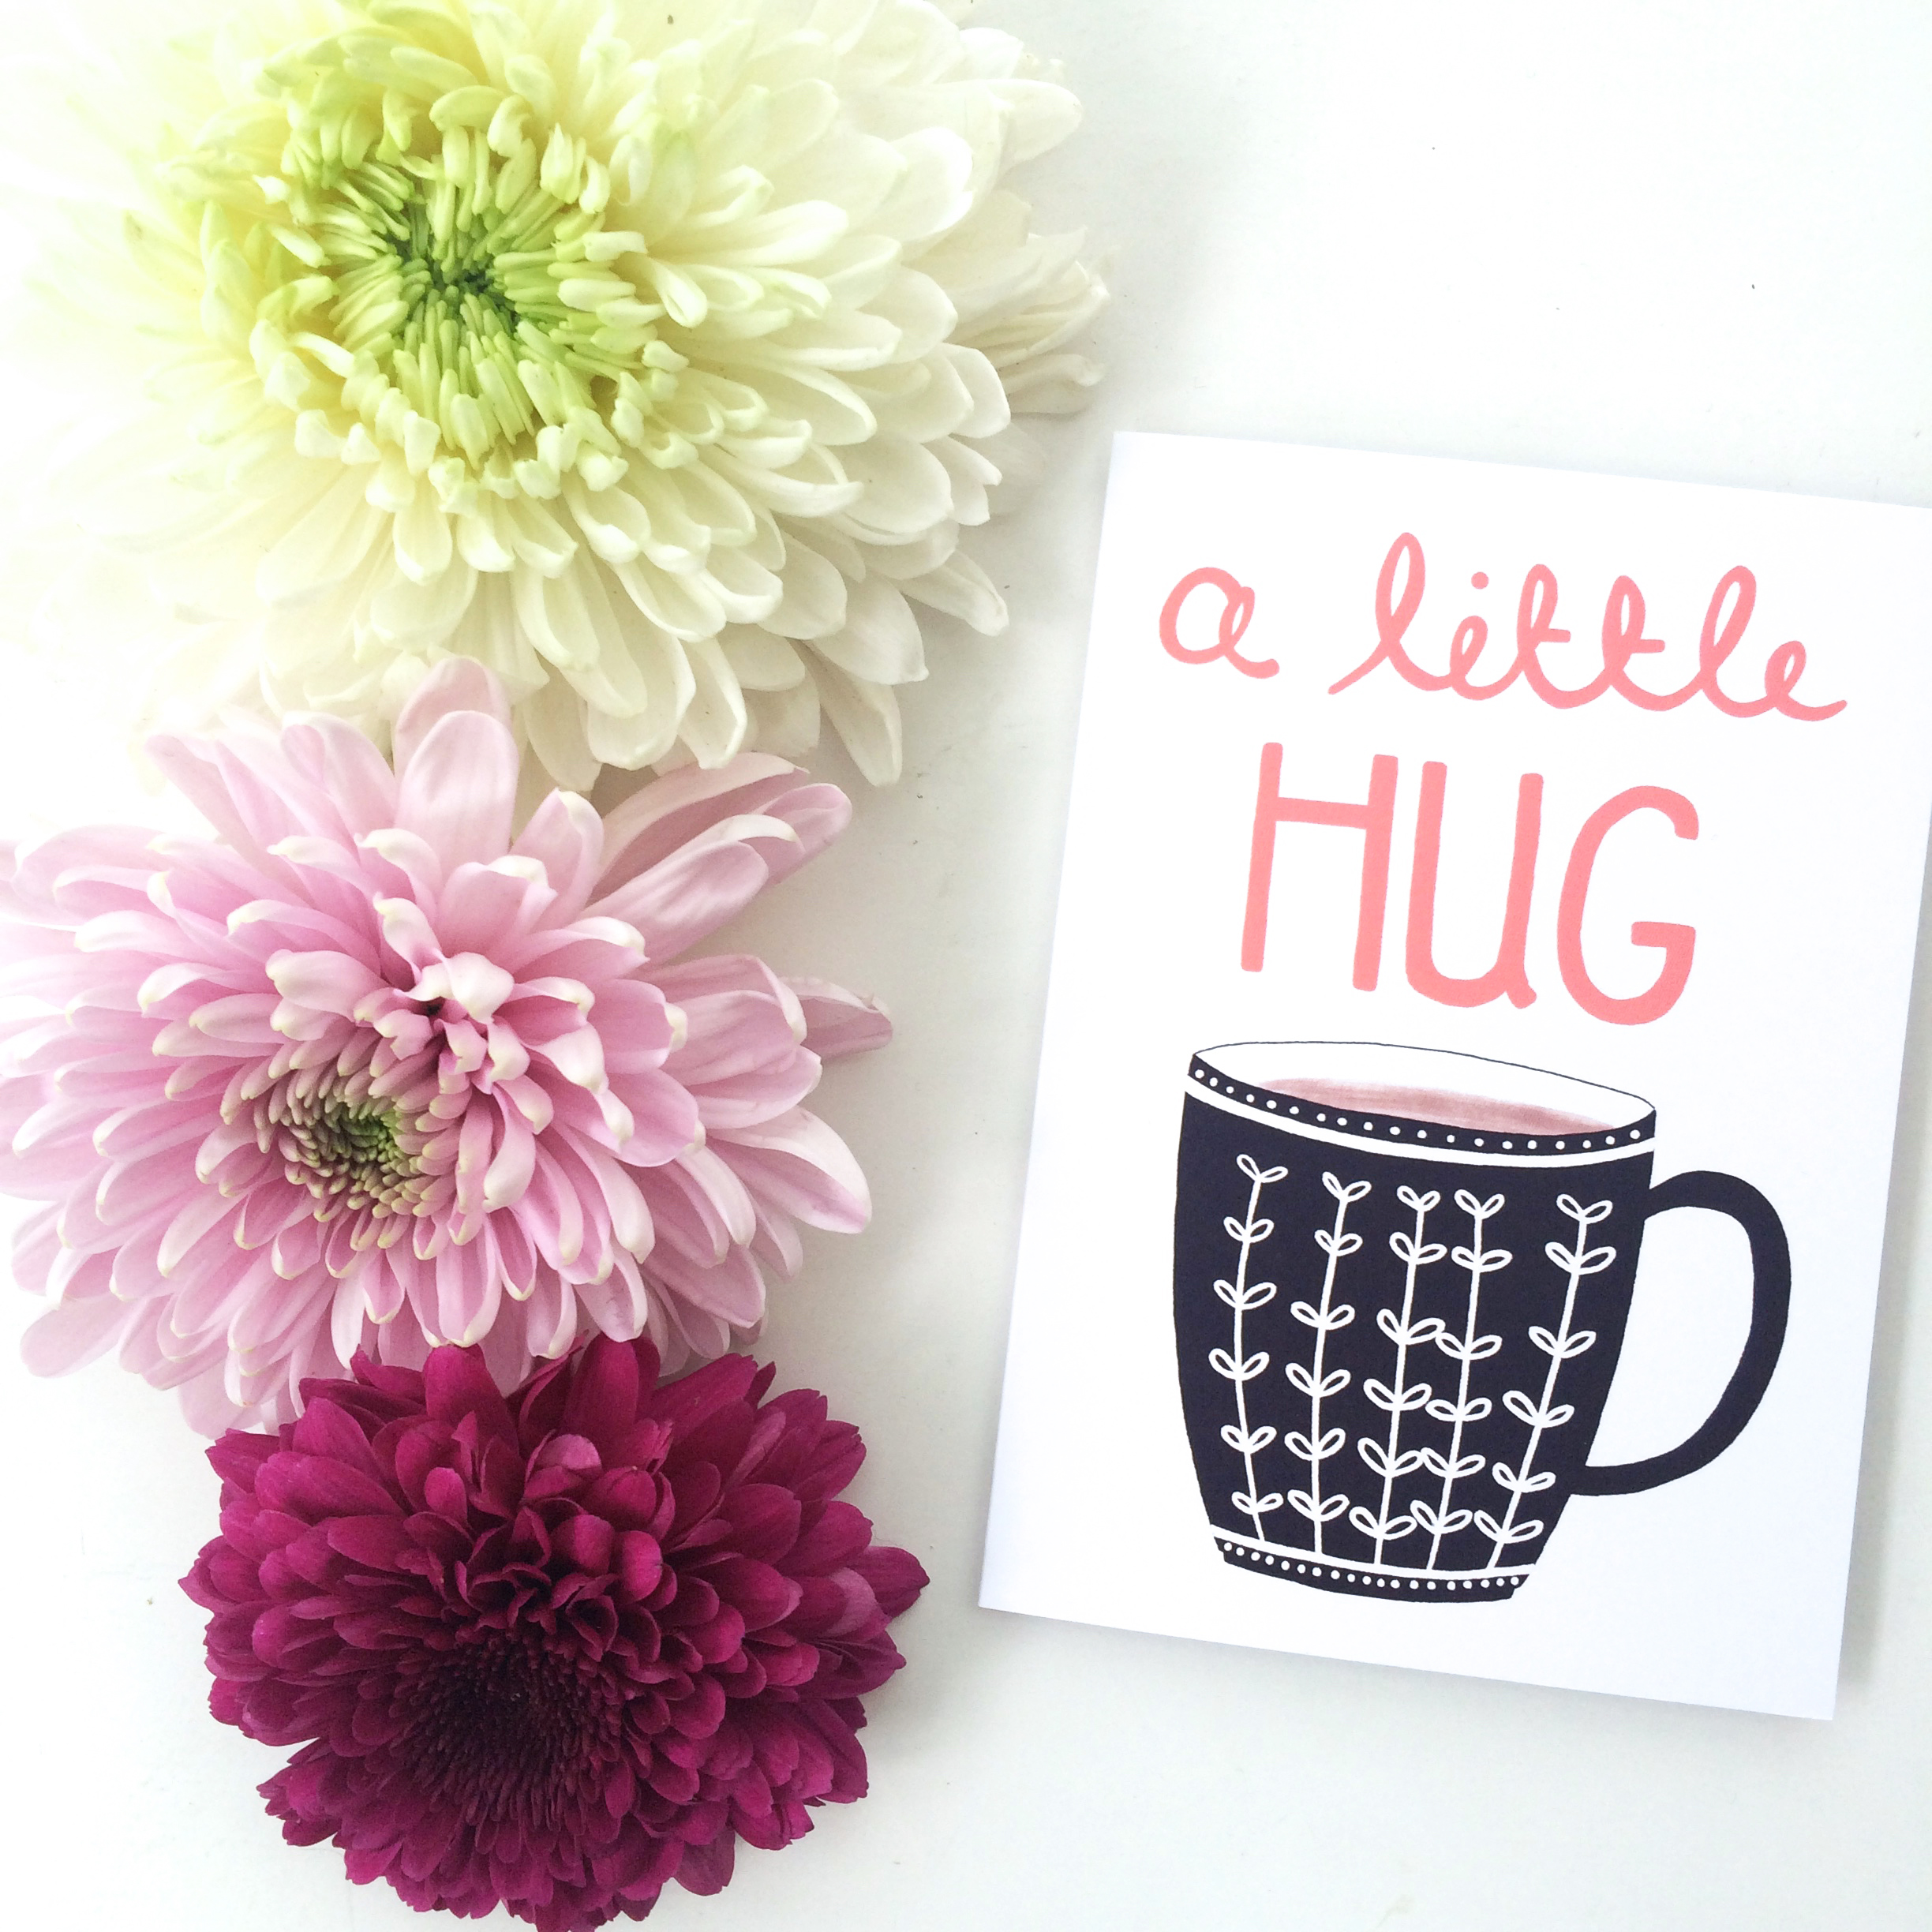
Check if your printer can provide envelopes and if so what colours and textures are available. Envelopes are part of your product and help to the set the tone of your brand. I've chosen brown 'kraft' envelopes as I wanted to add a cosy, homely feel to my cards.

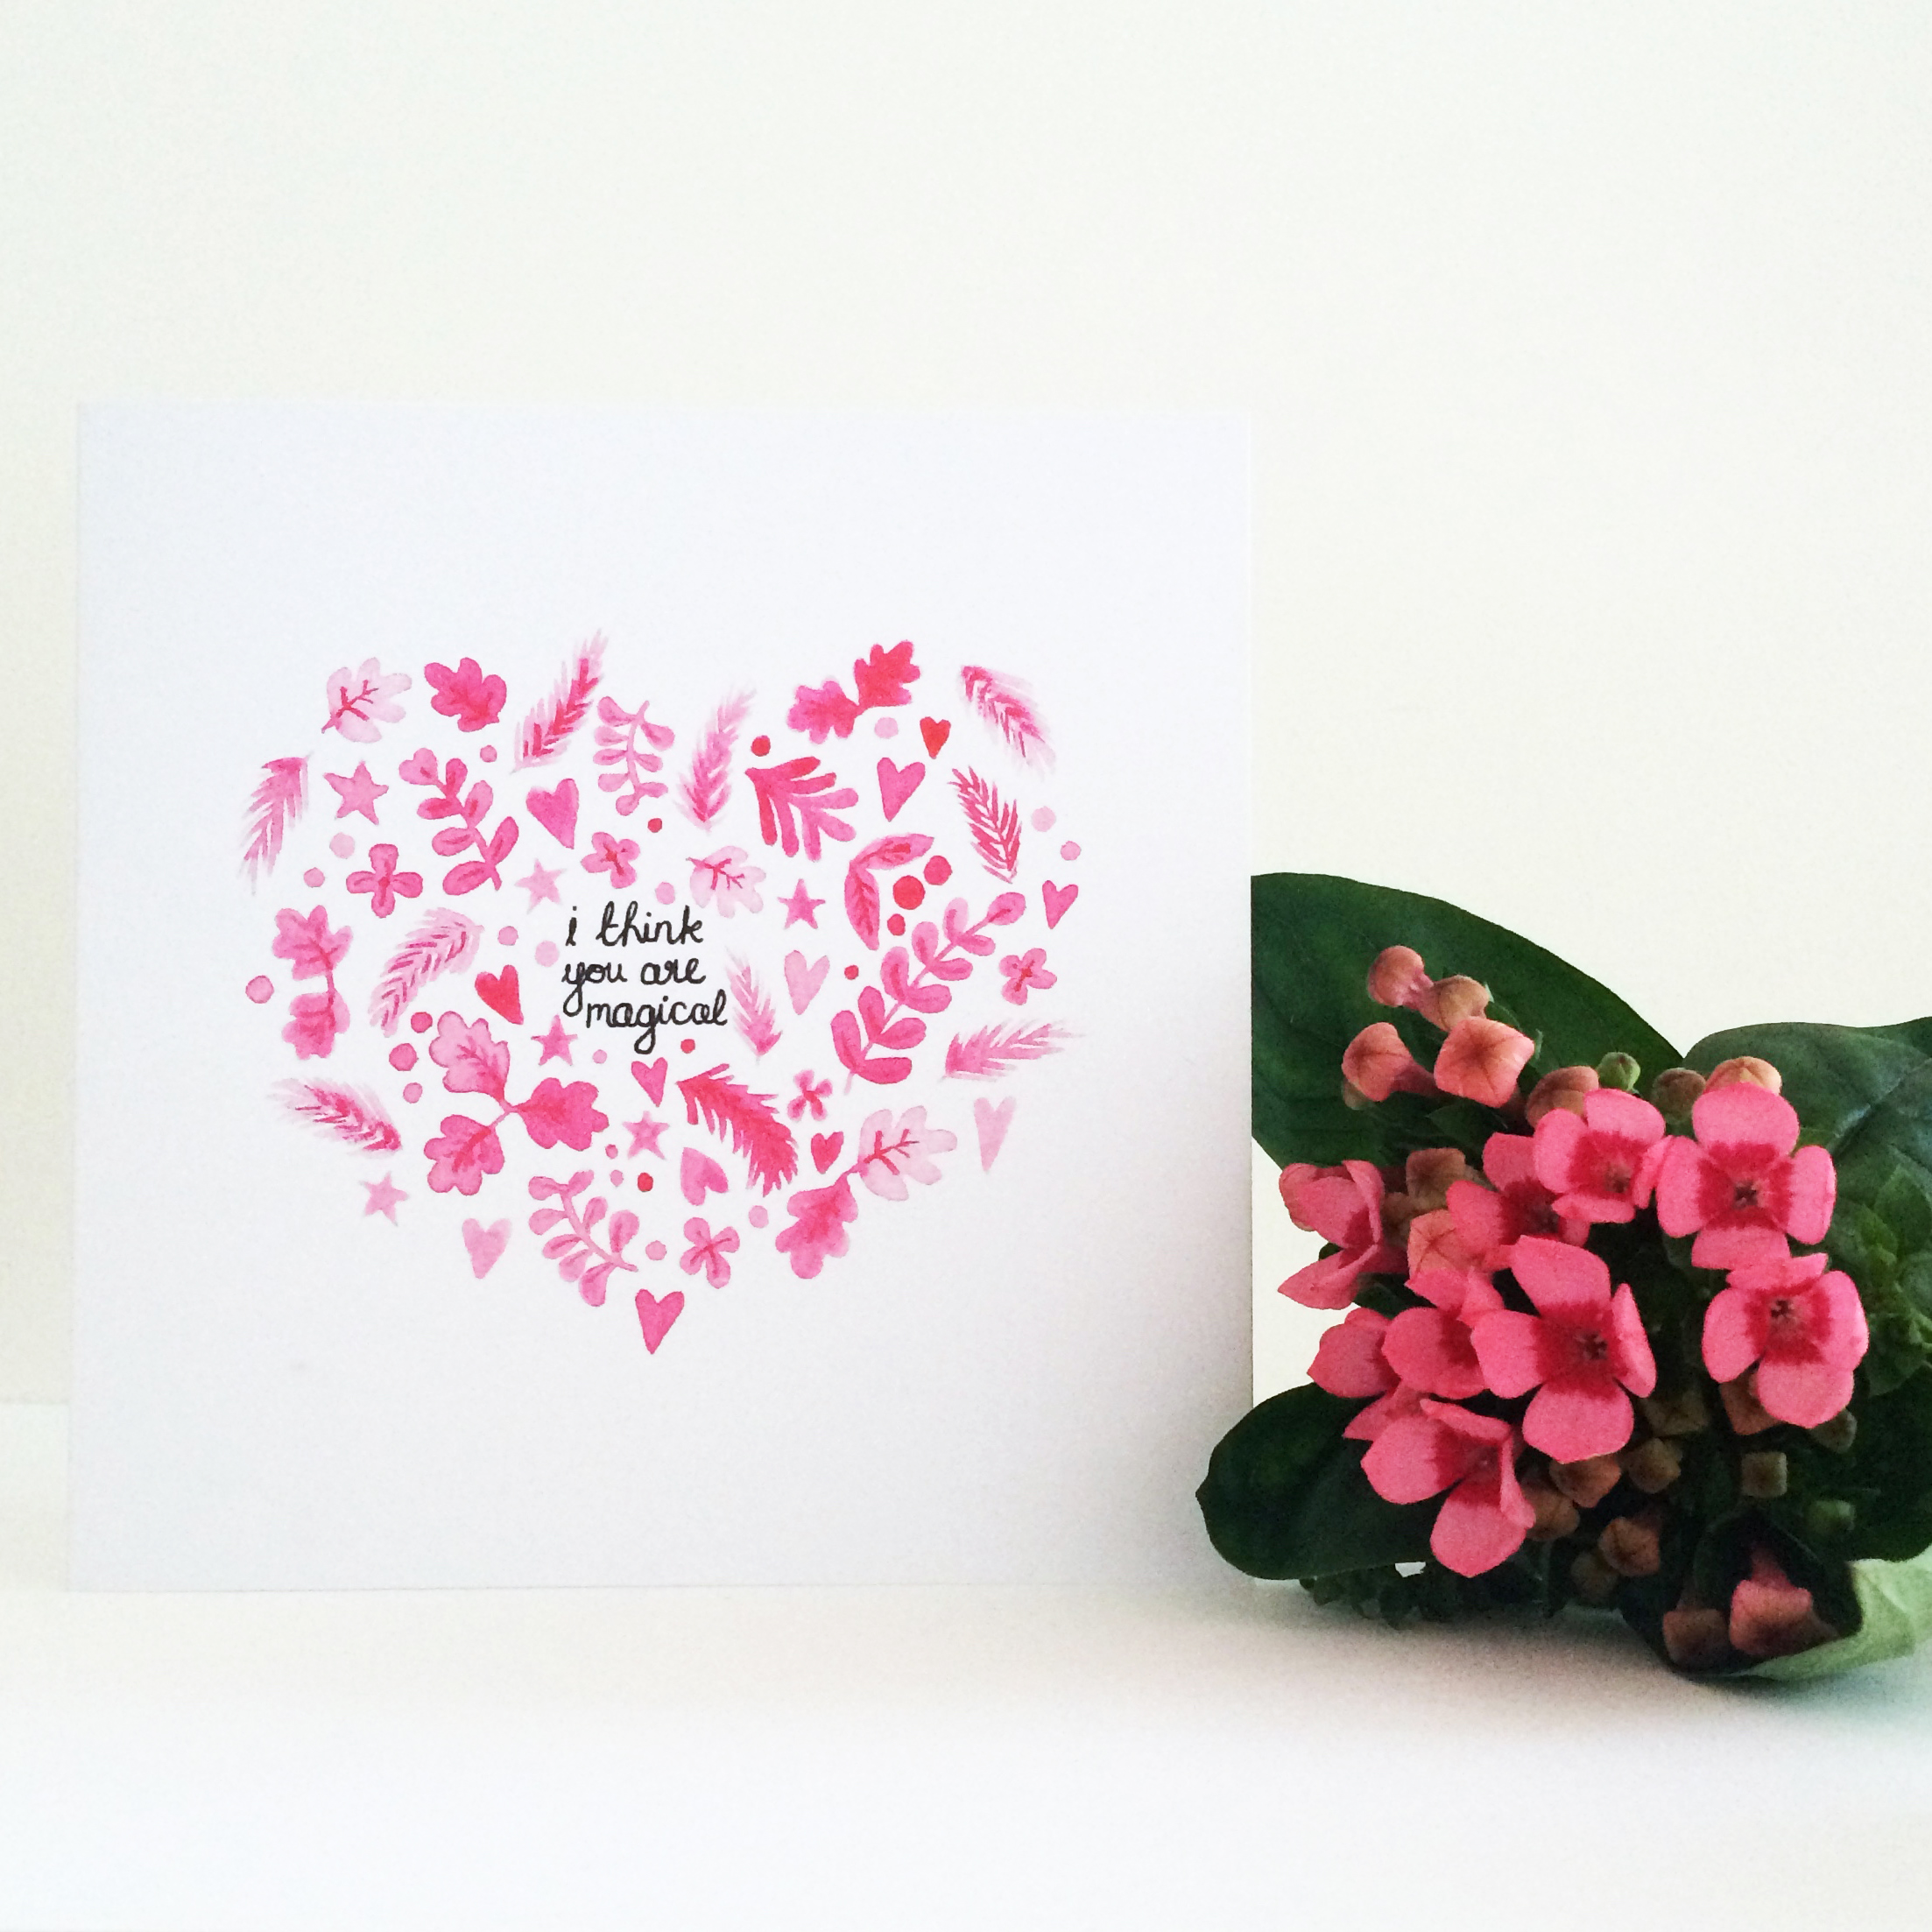
My next step is to set up a photoshoot for my cards to show them off in my Etsy shop. I'll write another blog post about this soon!